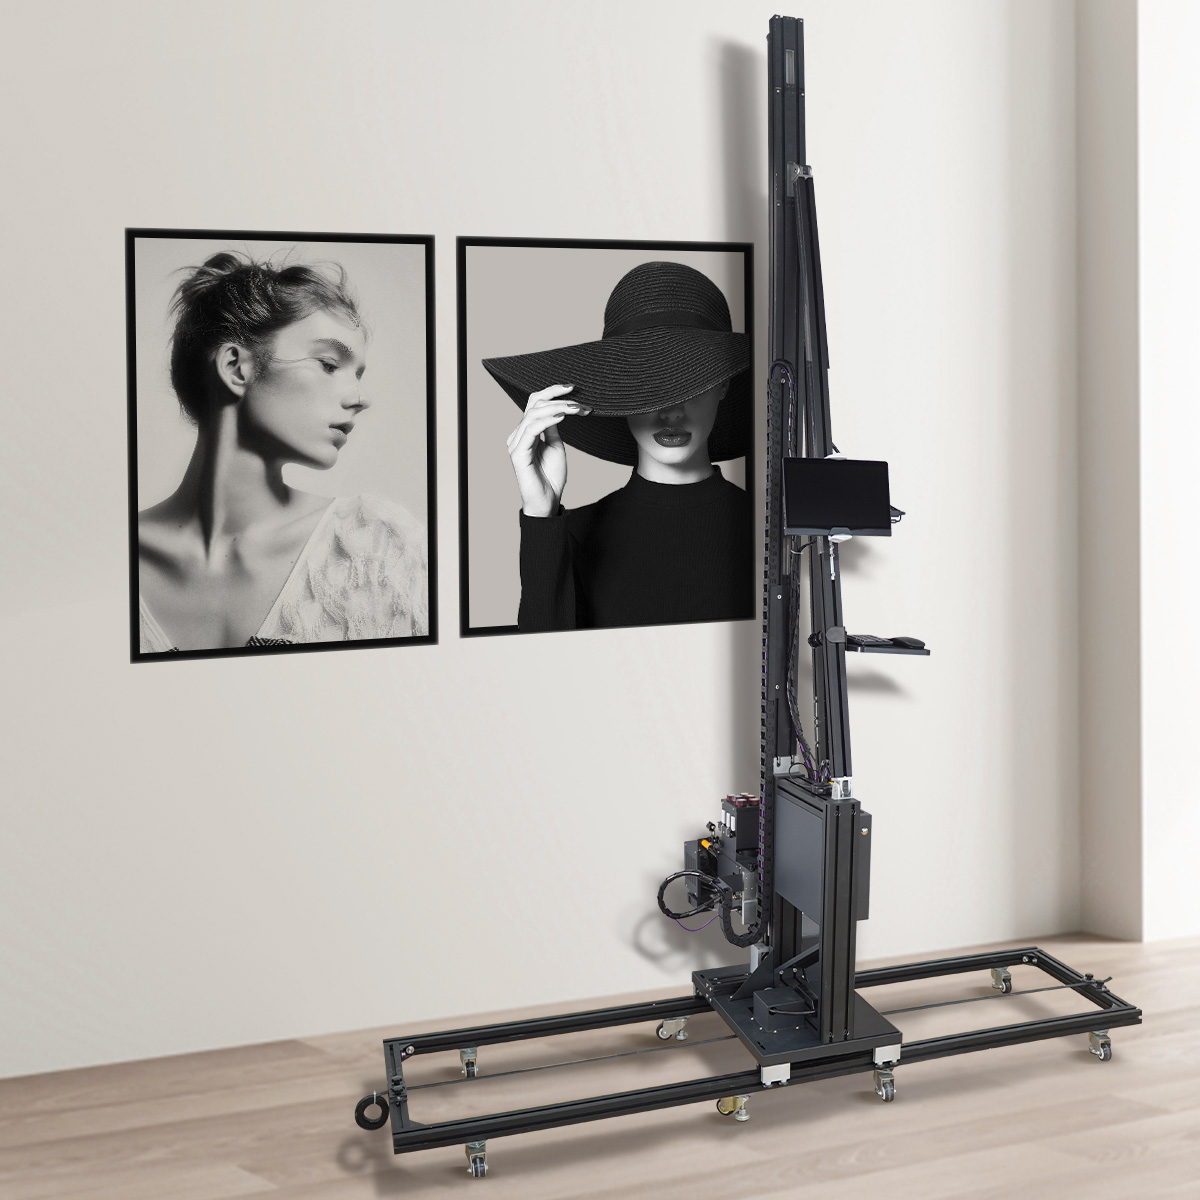
A wall printer works much like a large-format inkjet printer—but instead of feeding paper through the machine, it moves vertically and horizontally in front of a wall and prints the image directly onto the finished surface.
The complete process can be summarized as:
Digital artwork → RIP processing → wall preparation → machine calibration → direct inkjet printing → UV curing → finished mural
A modern wall printer combines precision motion control, inkjet printheads, wall-distance sensors, RIP software, CMYK or CMYK+W ink, and UV LED curing into one vertical printing system.
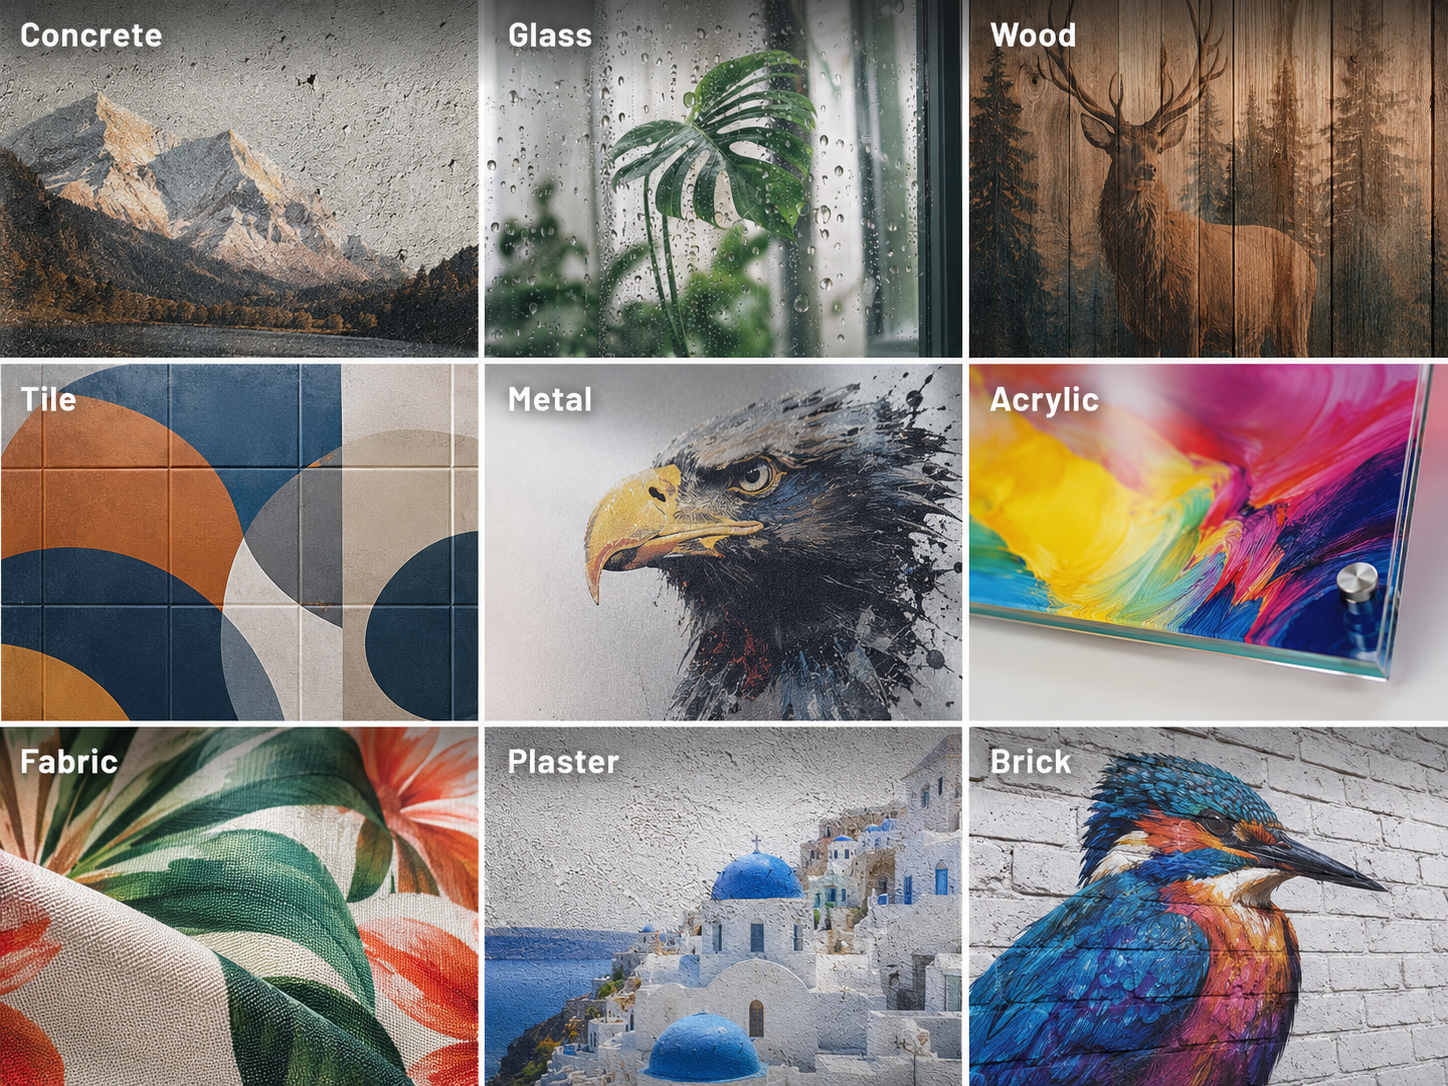
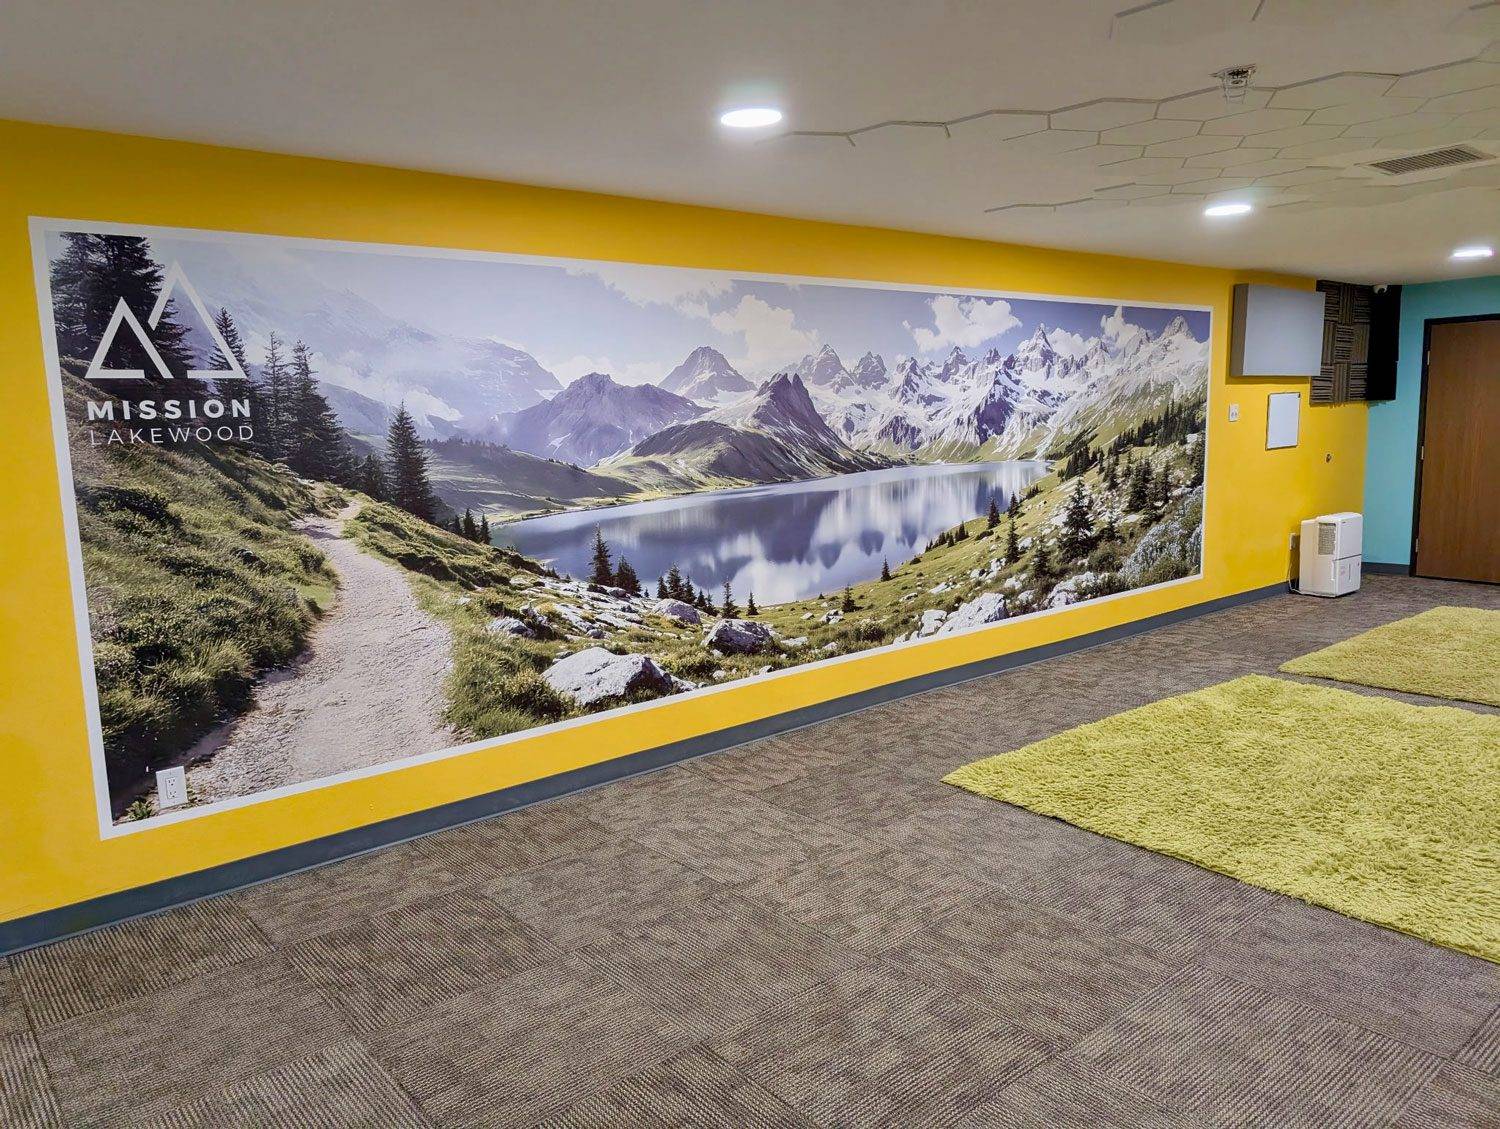
The result is a full-size mural printed directly onto drywall, plaster, concrete, wood, glass, tile, metal, and other suitable surfaces—without printing wallpaper or vinyl first.
How a Wall Printer Works at a Glance
Stage | What Happens |
|---|---|
1. Digital file preparation | Software converts the artwork into printable image data |
2. Wall preparation | The surface is cleaned, repaired, and checked for suitability |
3. Machine positioning | The printer is aligned parallel to the wall |
4. Distance calibration | Sensors establish the correct printhead-to-wall gap |
5. Inkjet printing | The printhead deposits CMYK and optional white ink |
6. UV curing | UV LEDs cure the ink immediately after deposition |
7. Final inspection | The mural is checked for color, alignment, coverage, and adhesion |
The important point is that a wall printer does not simply “project” an image onto a surface.
It creates the mural pixel by pixel using real ink, much like an inkjet printer creates an image on paper.
1. The Process Starts With a Digital File
Every wall mural starts as a digital image.
That might be a photograph, illustration, company logo, vector graphic, pattern, or custom artwork created in software such as Photoshop, Illustrator, or another design program.
Before printing begins, the artwork must be prepared according to the final wall dimensions.
If a customer wants a mural measuring 3 meters wide by 2 meters high, the software needs to know exactly how that artwork should fit into the available space.
Resolution also matters.
A small image enlarged dramatically can become visibly pixelated, while a properly prepared high-resolution file can retain smooth gradients, sharp text, and fine details at mural scale.
Logos and typography are ideally prepared as vector artwork where possible because they can scale without losing sharpness.
Once the artwork is ready, it moves into the printer's RIP software.
2. RIP Software Converts the Image Into Printing Instructions
The RIP—Raster Image Processor—is the bridge between the artwork and the physical printer.
It converts the digital image into instructions that tell the printhead:
Where each ink droplet should go.
Which color channel should fire.
How much ink should be deposited.
Whether white ink is required.
Which resolution or pass mode should be used.
Where the image should begin and end on the wall.
This is one of the reasons professional wall printing is more complicated than simply loading a JPEG and pressing Start.
The software also allows the operator to adjust the final image dimensions, orientation, color settings, print quality, and white-ink layer.
For example, a photograph printed on a white wall may require only CMYK.
The same photograph printed on a dark blue wall may first require a white underbase so the colors remain bright and accurate.
Once the RIP has processed the file, the print data is sent to the machine-control system.
3. The Wall Must Be Ready Before the Printer Starts
The quality of the finished mural depends heavily on the wall underneath it.
A wall printer cannot hide peeling paint, loose plaster, major cracks, moisture, grease, or large surface defects.
Before printing, the operator checks whether the wall is clean, dry, stable, and reasonably even.
Small holes and cracks can be repaired. Dust and grease should be removed. Loose paint should be corrected before printing.
Highly porous or difficult surfaces may require a compatible primer or another pretreatment.
The preparation depends on the material.
Smooth painted drywall is generally straightforward, while concrete, brick, glass, tile, metal, and wood can require different preparation methods.
This is important because UV ink sits on and bonds to the surface rather than behaving exactly like conventional wall paint.
The cleaner and more stable the surface, the more predictable the print quality and adhesion.
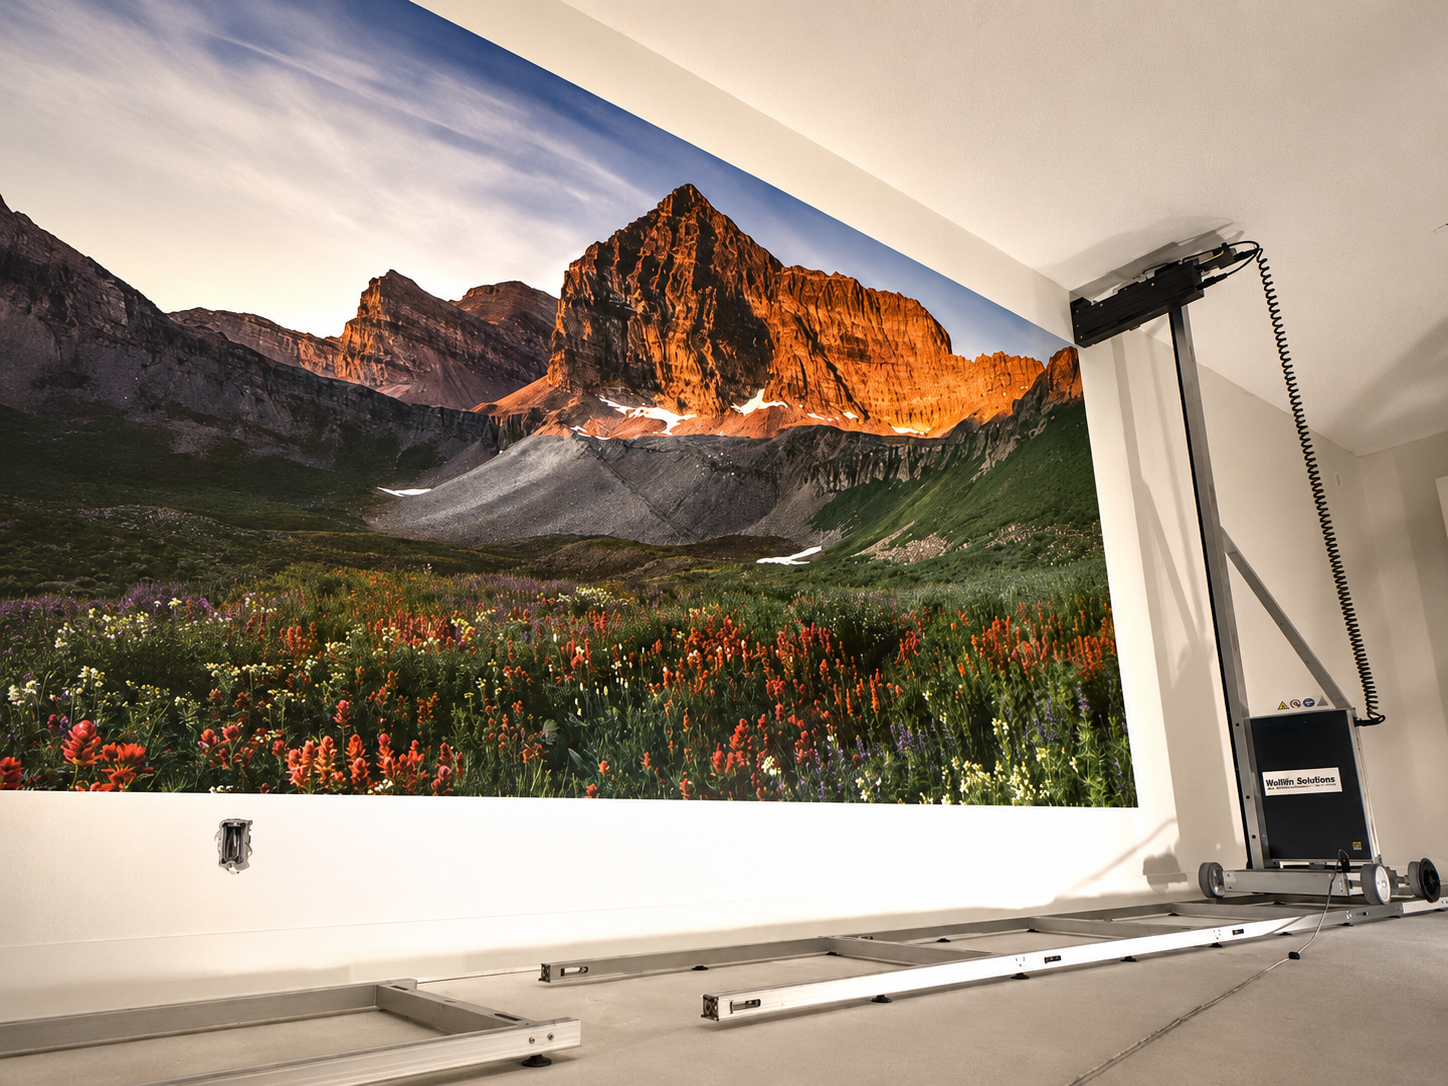
4. The Printer Is Positioned Parallel to the Wall
After the wall is prepared, the machine is assembled and positioned in front of the printing area.
Depending on the design, a wall printer may move horizontally using wheels, a floor rail, or a convertible wheel-and-rail system.
Vertically, the printhead carriage travels up and down the machine's tower.
Together, these two axes allow the printhead to reach different points across the mural.
The printer therefore works almost like an extremely large plotter turned vertically.
Instead of moving paper underneath a stationary print system, the printing system moves across the stationary wall.
Mechanical stability is important.
If the printer is not correctly positioned relative to the wall, small errors can become visible as misaligned lines, distorted text, or inconsistent overlap during a large mural.
That is why setup and calibration happen before ink reaches the wall.
5. Distance Sensors Help the Printer Follow the Wall
Unlike a sheet of paper, a real wall is rarely perfectly flat.
It may have slight waves, patches, joints, texture, or variations in distance.
A modern wall printer therefore uses distance-sensing technology to monitor the relationship between the printhead and the surface.
Depending on the machine, this may involve laser, ultrasonic, infrared, or another type of sensing system.
The objective is to keep the printhead within its intended working range.
If the head gets too close, there is a risk of contact with the wall.
If it moves too far away, the droplets have farther to travel through the air before reaching the surface, which can reduce edge definition and print accuracy.
This sensing system is one of the major differences between a normal large-format printer and a printer designed for architectural surfaces.
It allows direct wall printing to work on real-world walls rather than perfectly flat sheets of media.
However, sensors have limits.
Deep brick joints, severely uneven masonry, projecting objects, or very rough surfaces may still require wall preparation before printing.
6. The Printhead Deposits Thousands of Tiny Ink Droplets
Once the artwork, wall, and machine are ready, printing begins.
The printhead contains many microscopic nozzles.
As the carriage moves, those nozzles fire extremely small droplets of ink according to the instructions generated by the RIP software.
The printer builds the image through combinations of cyan, magenta, yellow, and black.
Commercial UV systems may also include white ink.
The process happens rapidly enough that the individual droplets become continuous photographs, illustrations, gradients, and text when viewed normally.
The machine prints the mural in controlled passes.
As one area is completed, the carriage continues across the next section while the motion system maintains the correct positioning.
For large murals, software and machine coordinates allow the image to continue beyond a single carriage position without manually joining wallpaper panels.
This is how a small digital image can eventually become a floor-to-ceiling mural.
7. Why White Ink Matters on Dark Walls
White ink is one of the most important features of a UV wall printer.
Standard CMYK inks are designed to create color by interacting with the background underneath them.
On a white wall, that works naturally because the white surface provides brightness.
On a black, dark blue, red, wood-colored, transparent, or metallic surface, the background can change the appearance of the printed colors.
A white ink layer solves this problem.
The machine can first deposit white ink underneath the colored areas and then print CMYK above it.
This creates an opaque base that keeps the final image bright.
White ink can be used as:
A complete underbase beneath the image.
A selective layer beneath only certain colors.
A visible design color itself.
This greatly expands the range of surfaces that can be used for direct printing.
The trade-off is maintenance.
White pigment tends to settle more easily than ordinary colored ink, so professional systems normally include circulation or agitation to help keep the white ink stable.
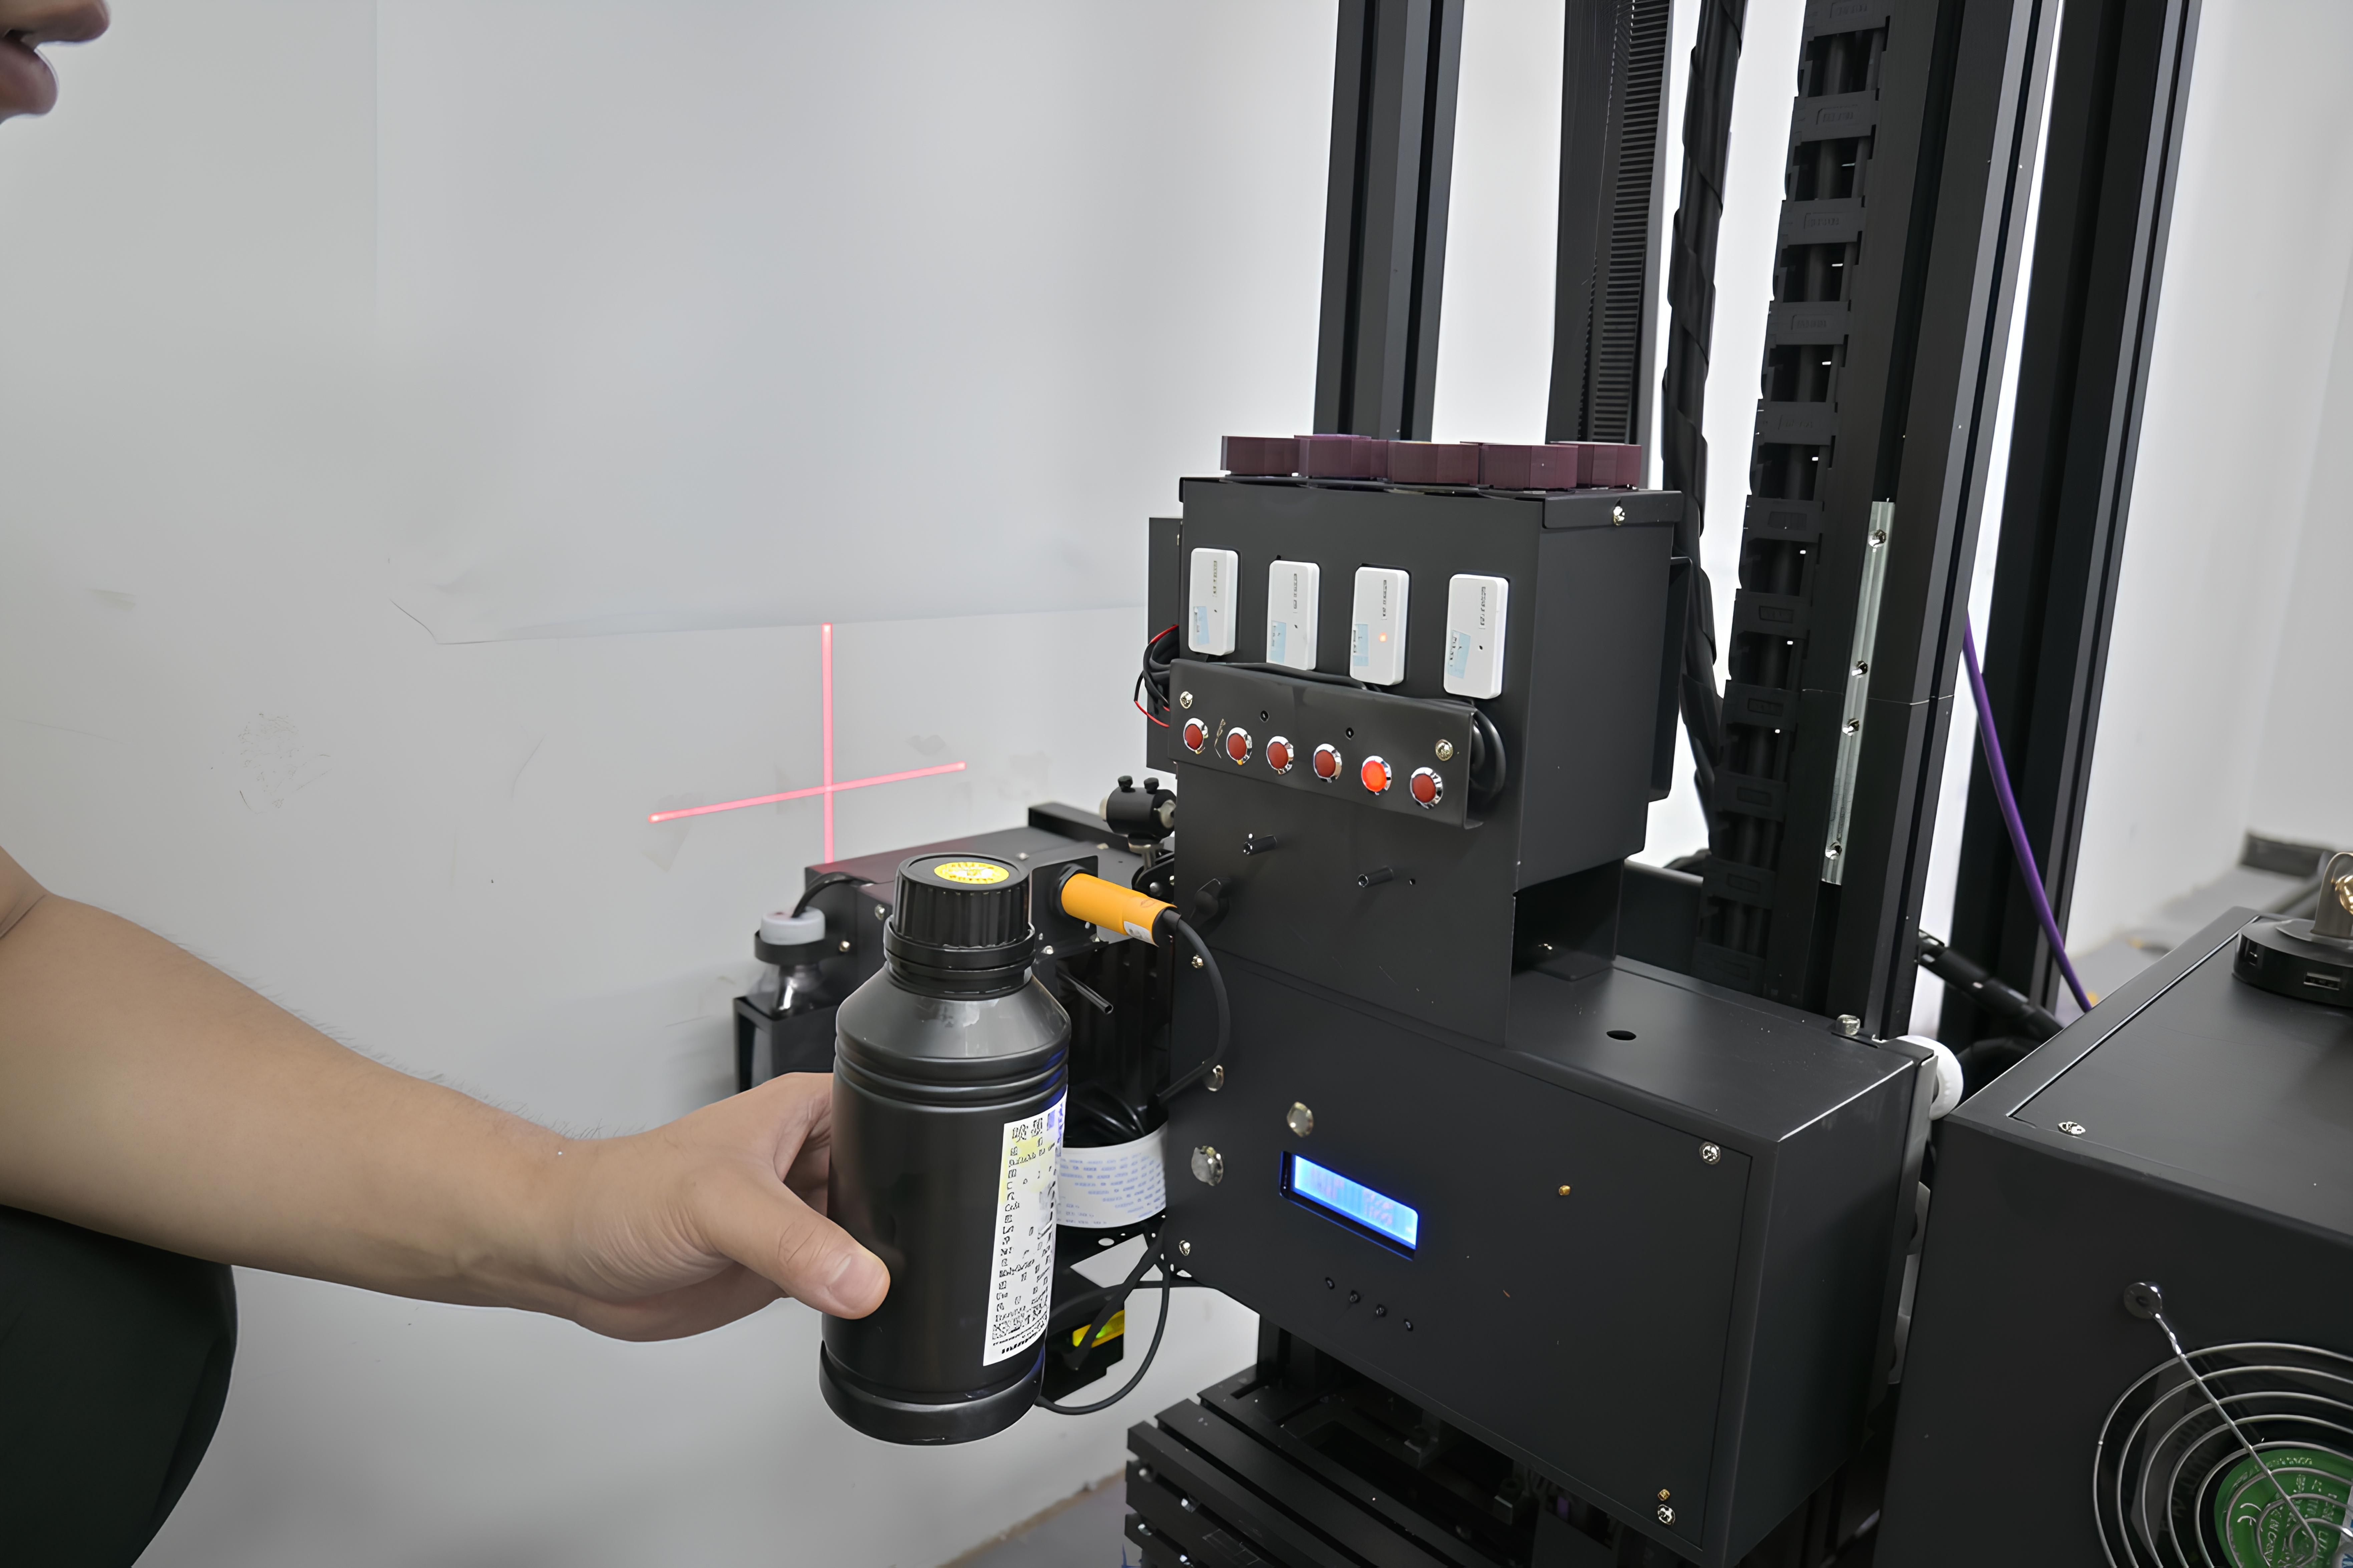
8. UV LEDs Cure the Ink Immediately
The “UV” part of an UV wall printer is what makes this printing process especially useful for nonporous surfaces.
UV ink contains photoinitiators.
When the freshly deposited ink is exposed to UV LED light, those photoinitiators trigger a polymerization reaction.
In simple terms:
Liquid ink becomes a solid printed layer almost immediately.
The UV lamps travel with or near the printhead so curing happens immediately after the droplets reach the wall.
This means the image does not need to sit wet for hours like conventional paint.
It also reduces the risk of smearing as the printer continues working above, below, or beside the previous section.
UV curing is particularly important when printing on surfaces such as glass, tile, metal, and other materials that do not absorb ink like paper.
Instead of relying on the material to soak up the ink, the system cures the ink into a film on the surface.
9. The Mural Is Built Pass by Pass
A wall printer does not create the entire mural at once.
The image is built through repeated controlled passes of the printhead.
The exact sequence depends on the machine and print mode.
A faster mode may use fewer passes and is suitable for large graphics viewed from farther away.
A higher-quality mode can use more passes to improve gradients, photographic detail, solid-color uniformity, and edge quality.
White ink adds another variable.
On a dark wall, the system may first print white and then color, or coordinate both layers according to the machine's configuration.
This explains why the advertised “maximum speed” of a wall printer is not always the speed used for every customer project.
More detail, more white ink, and more passes generally mean more printing time.
The operator therefore balances quality and productivity according to the application.
10. Why the Ink Does Not Run Down the Wall
This is a common question because the printer is depositing liquid ink onto a vertical surface.
Several parts of the system work together to prevent that.
First, ink droplets are extremely small.
Second, the printhead controls precisely how much ink is deposited.
Third, UV LEDs begin curing the ink almost immediately.
That means there is very little time for gravity to pull the liquid ink downward before it becomes stable.
Correct printhead distance, ink volume, print speed, and UV intensity all contribute to this process.
Too much ink or inadequate curing can still create defects, which is why machine settings need to match the material and print mode.
11. Can a Wall Printer Print on More Than Painted Walls?
Yes.
Depending on the ink system, sensors, and surface preparation, a wall mural printer can work on a wide range of rigid architectural surfaces.
Common examples include painted drywall, plaster, concrete, wood, brick, glass, ceramic tile, and metal.
But “printable” does not mean “ready to print.”
Porous materials may require sealing.
Glossy materials may need cleaning or an adhesion promoter.
Dark surfaces may require white ink.
Highly textured walls may exceed the machine's distance-control range.
That is why professional operators test unfamiliar surfaces before committing to a full mural.
The wall printer provides the printing capability.
Surface preparation determines whether that capability produces a durable result.
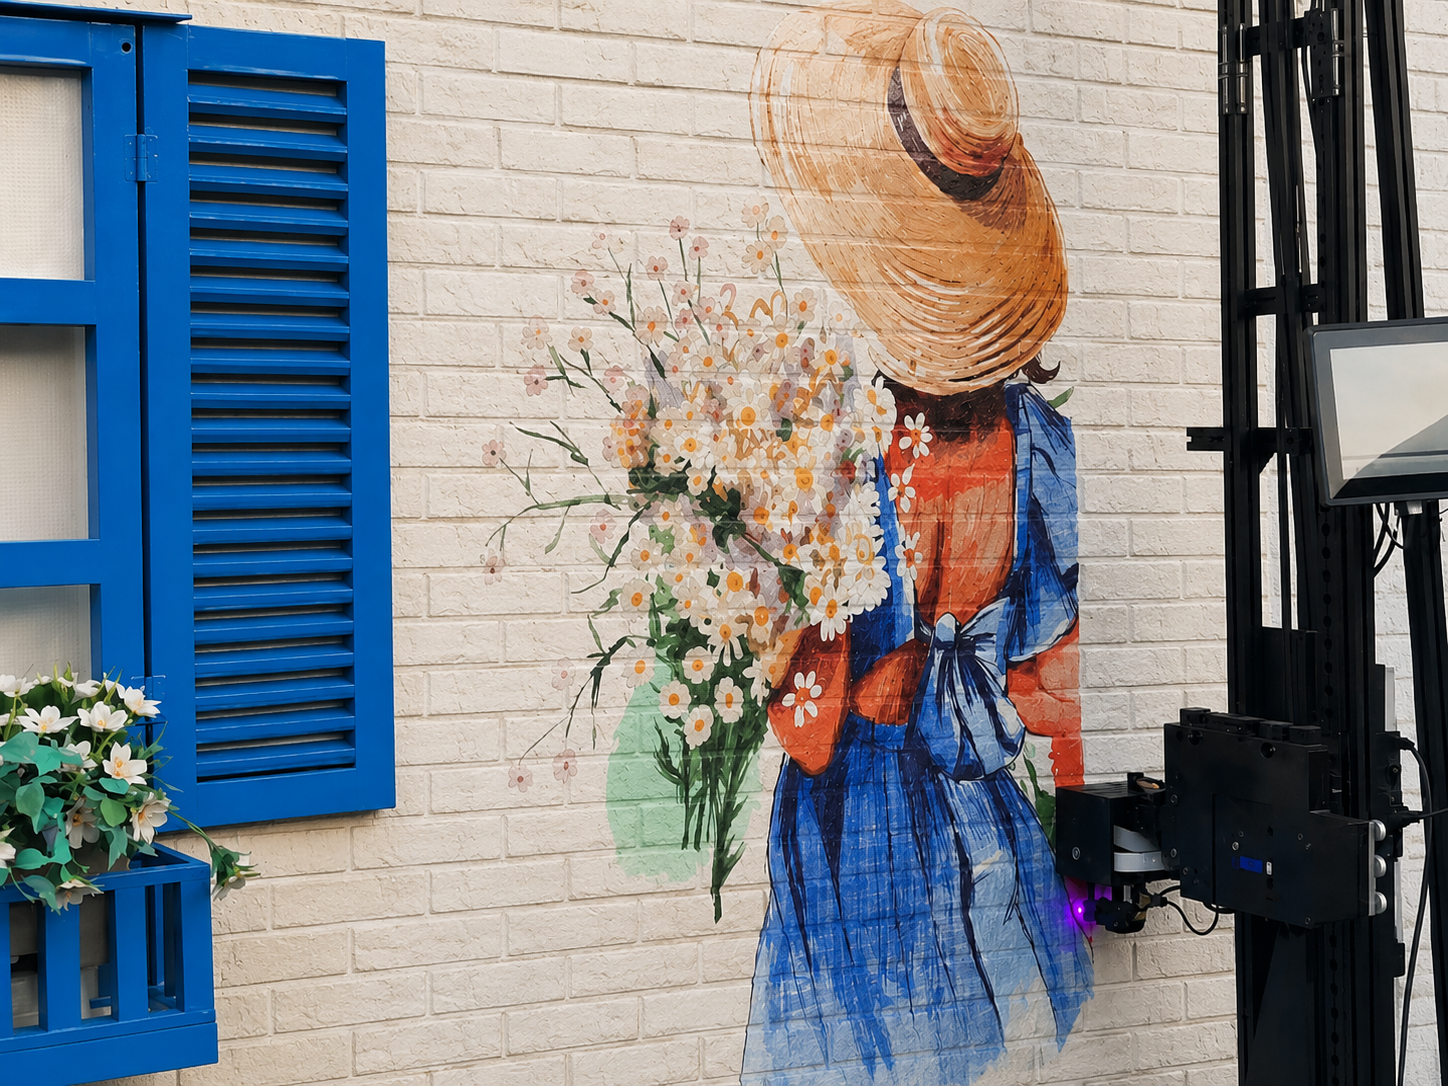
12. What Happens After Printing?
After the final pass, the operator inspects the mural.
The main checks are straightforward:
Is the color consistent?
Are edges and text sharp?
Is white ink aligned correctly?
Are there visible bands or missed areas?
Did the ink bond correctly to the surface?
Is the image positioned where the customer approved it?
Because UV ink is cured during printing, the mural is generally much closer to its finished state immediately after the machine completes the job than conventional wet paint would be.
The operator can then photograph the completed mural, clean the printer, perform the required printhead maintenance, and save the job parameters for future reference.
Saving those settings is useful for businesses completing repeat projects.
If a customer later wants the same logo, color profile, or material, the operator already has a proven starting point.
What Actually Determines Wall Print Quality?
A good wall mural is not created by DPI alone.
Several systems have to work together:
Artwork quality determines how much usable detail exists in the original image.
RIP processing determines how that image is translated into ink data.
Motion accuracy determines whether the pixels land in the correct position.
Wall-distance control helps keep droplets focused on the surface.
Ink quality affects color and adhesion.
White ink determines performance on dark surfaces.
UV curing determines whether the deposited ink forms a stable film.
Surface preparation determines whether that film remains bonded to the wall.
This is why two printers advertising the same maximum resolution can produce very different real-world results.
The complete system matters more than one specification.
Conclusion
A wall printer transforms a digital image into a mural through a surprisingly straightforward chain of technologies.
The artwork is first processed by RIP software. The wall is inspected and prepared. The machine positions itself relative to the surface and uses sensors to maintain the correct working distance. The printhead then deposits thousands of microscopic CMYK—and, when required, white—ink droplets onto the wall.
Immediately afterward, UV LED light cures those droplets into a solid printed layer.
The result is a mural created directly on the architectural surface rather than printed on vinyl or wallpaper and installed afterward.
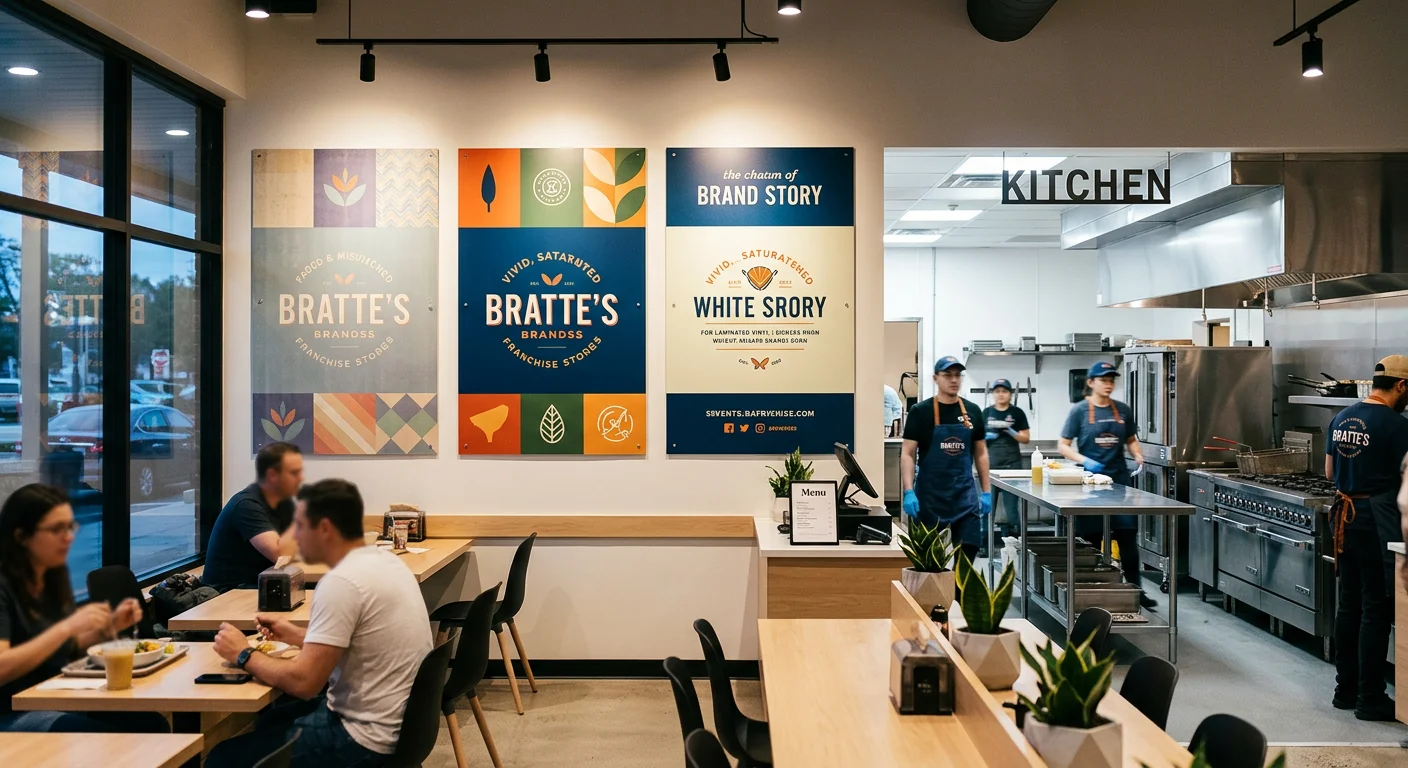
That direct workflow is what makes wall printing especially useful for custom murals, branded interiors, residential feature walls, restaurants, offices, hotels, retail spaces, and other environments where the image is intended to feel like part of the wall itself.
For buyers comparing machines, the most important questions are therefore not only maximum DPI or advertised speed.
Look closely at the printhead, motion system, white-ink management, wall-distance sensing, RIP software, UV curing system, supported surfaces, and technical support.
Those components determine how reliably the machine can repeat the journey from digital file to finished mural.
Considering adding direct wall printing to your business?
Send WallPrintGear your typical wall materials, mural sizes, application types, and expected monthly workload. The team can help you evaluate an appropriate wall printer configuration and arrange a sample print so you can see how the complete digital-file-to-UV-mural workflow performs on the surfaces you actually plan to print.