One Wall Printer Machine, Two Applications — Standard UV Printing & Visual 3D Texture Effects
A reliable 3-axis vertical wall printing system designed for high-quality UV printing and layered texture effects. Create vivid murals, commercial graphics and visual 3D wall designs with multi-layer ink printing — shipped factory-direct with software, training and complete business support.
Point Yourself to the Track That Matches How You'll Sell
Before the specs, point yourself to the track that matches how you'll sell. The machine is the same — the depth page you need next isn't.
Sourcing in volume or building your own label
Batch configurations, OEM/ODM and private-label options, dealer terms.
Become a distributor →Starting a wall-printing business
The full turnkey gear kit — machine, software, training and marketing tools to reach your first paying job.
Business opportunity →Adding a service line to a studio, contracting or ad shop
See how the machine drops into mural, décor, signage and storefront work you already sell.
Applications →Comparing every model we build
The full range and downloadable spec sheets, no inquiry gate.
All machines →One 3-Axis Vertical Platform. Two Ink-and-Curing Configs.
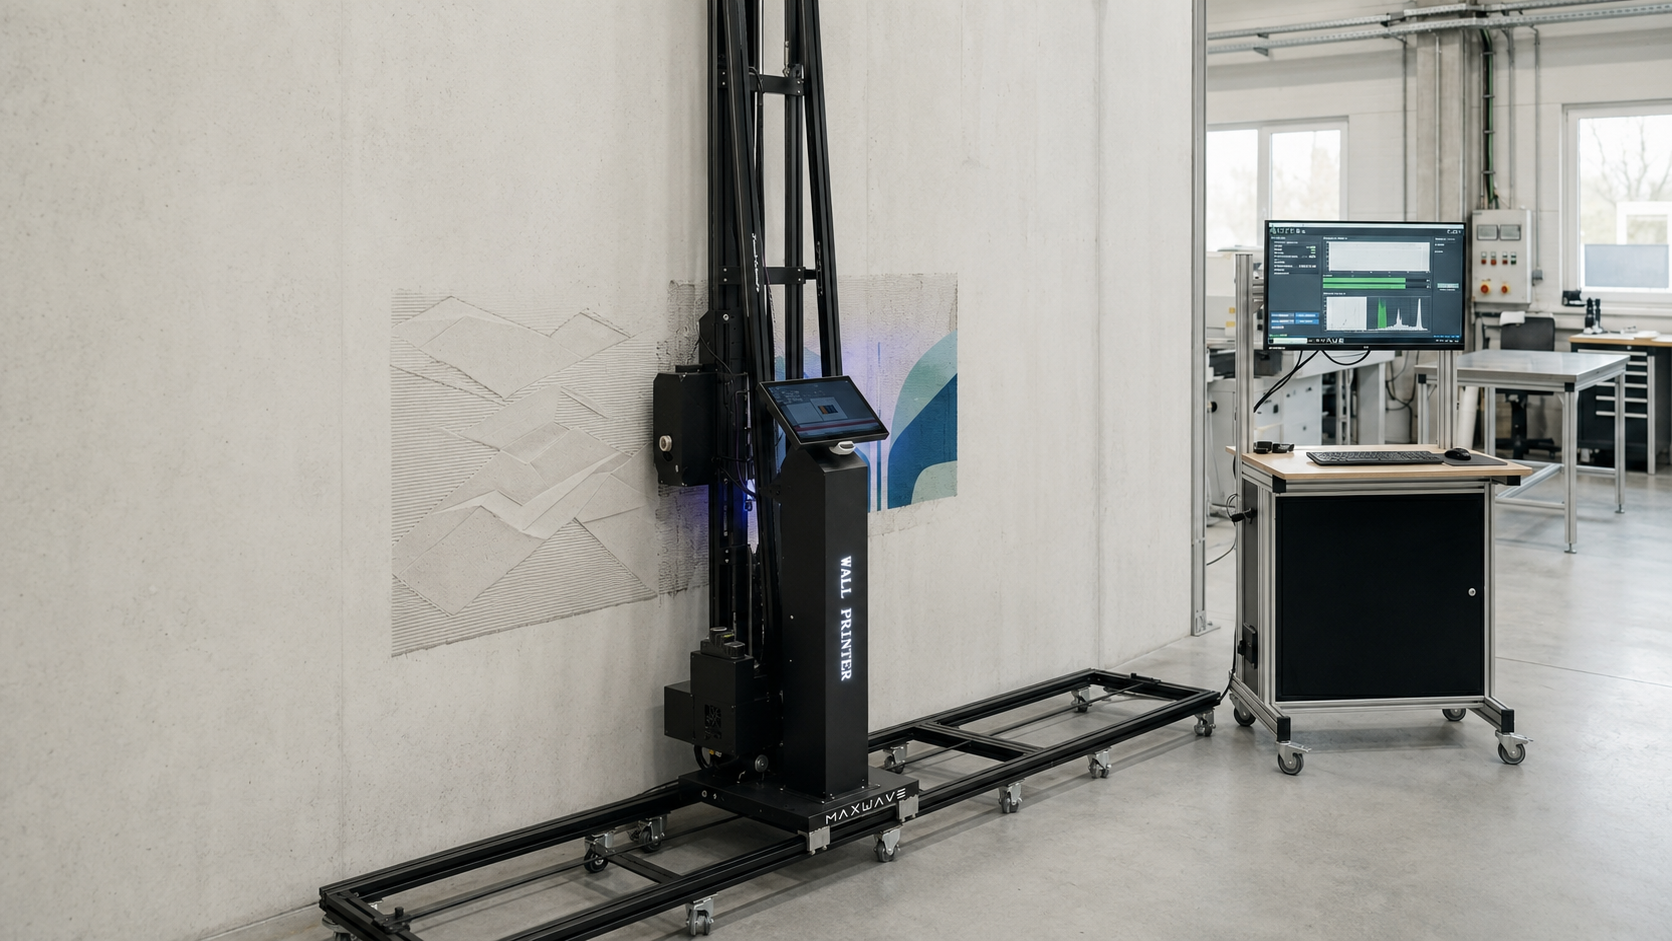
Most suppliers list "3D wall printer" and "UV wall printer" as two separate machines. Ours are not. Both configs run on the same 3-axis vertical rig — the identical rail-guided carriage, chassis, motion system and tier-1 print heads. What changes between them is the ink set and the curing method, not the machine you learn to operate.
That single fact decides most of what matters to you:
- One machine to learn. Your operator trains once on one motion system and one software workflow — not two unrelated machines.
- One set of spares to stock. Carriage, rails, heads and boards are shared across both configs, so your spare-parts logistics don't fork.
- Configurable, not locked. Start on the config your first jobs need; the platform is built to take the other ink-and-curing loadout later as your work mixes shift — you're extending one machine, not buying a second.
Every unit is production-tested before it ships and runs tier-1 print heads with factory-tuned color profiles, so the print quality baseline is the same whichever config you load.
Here's how each config prints, and what it's for. ↓
3D Wall Printer Configuration
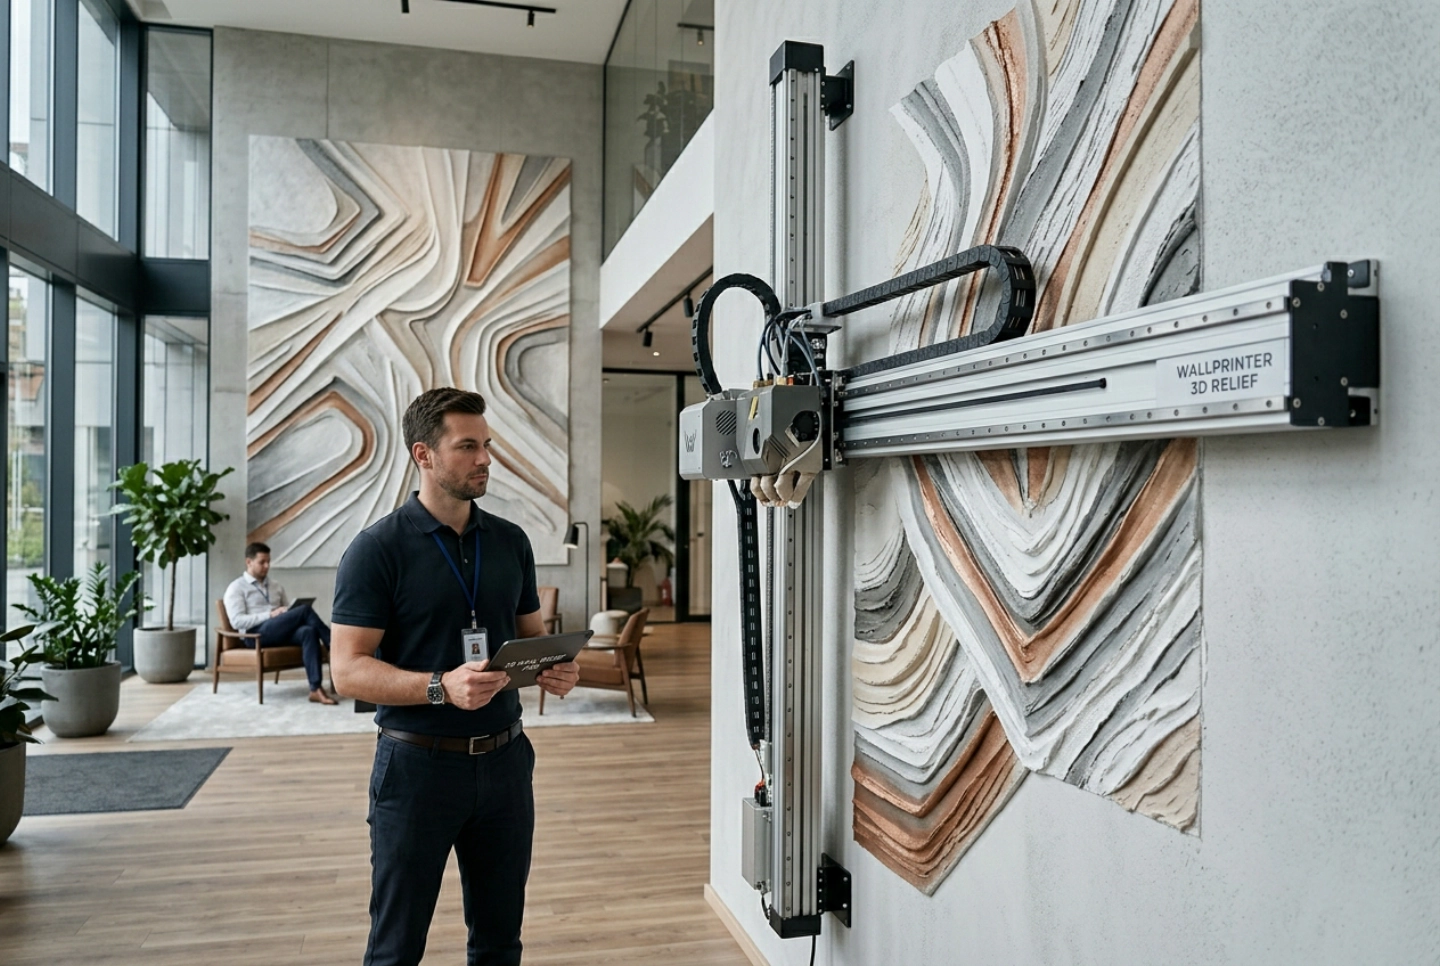
Run this way, the platform is a 3D wall printing machine — it stops printing onto the wall and starts building out from it.
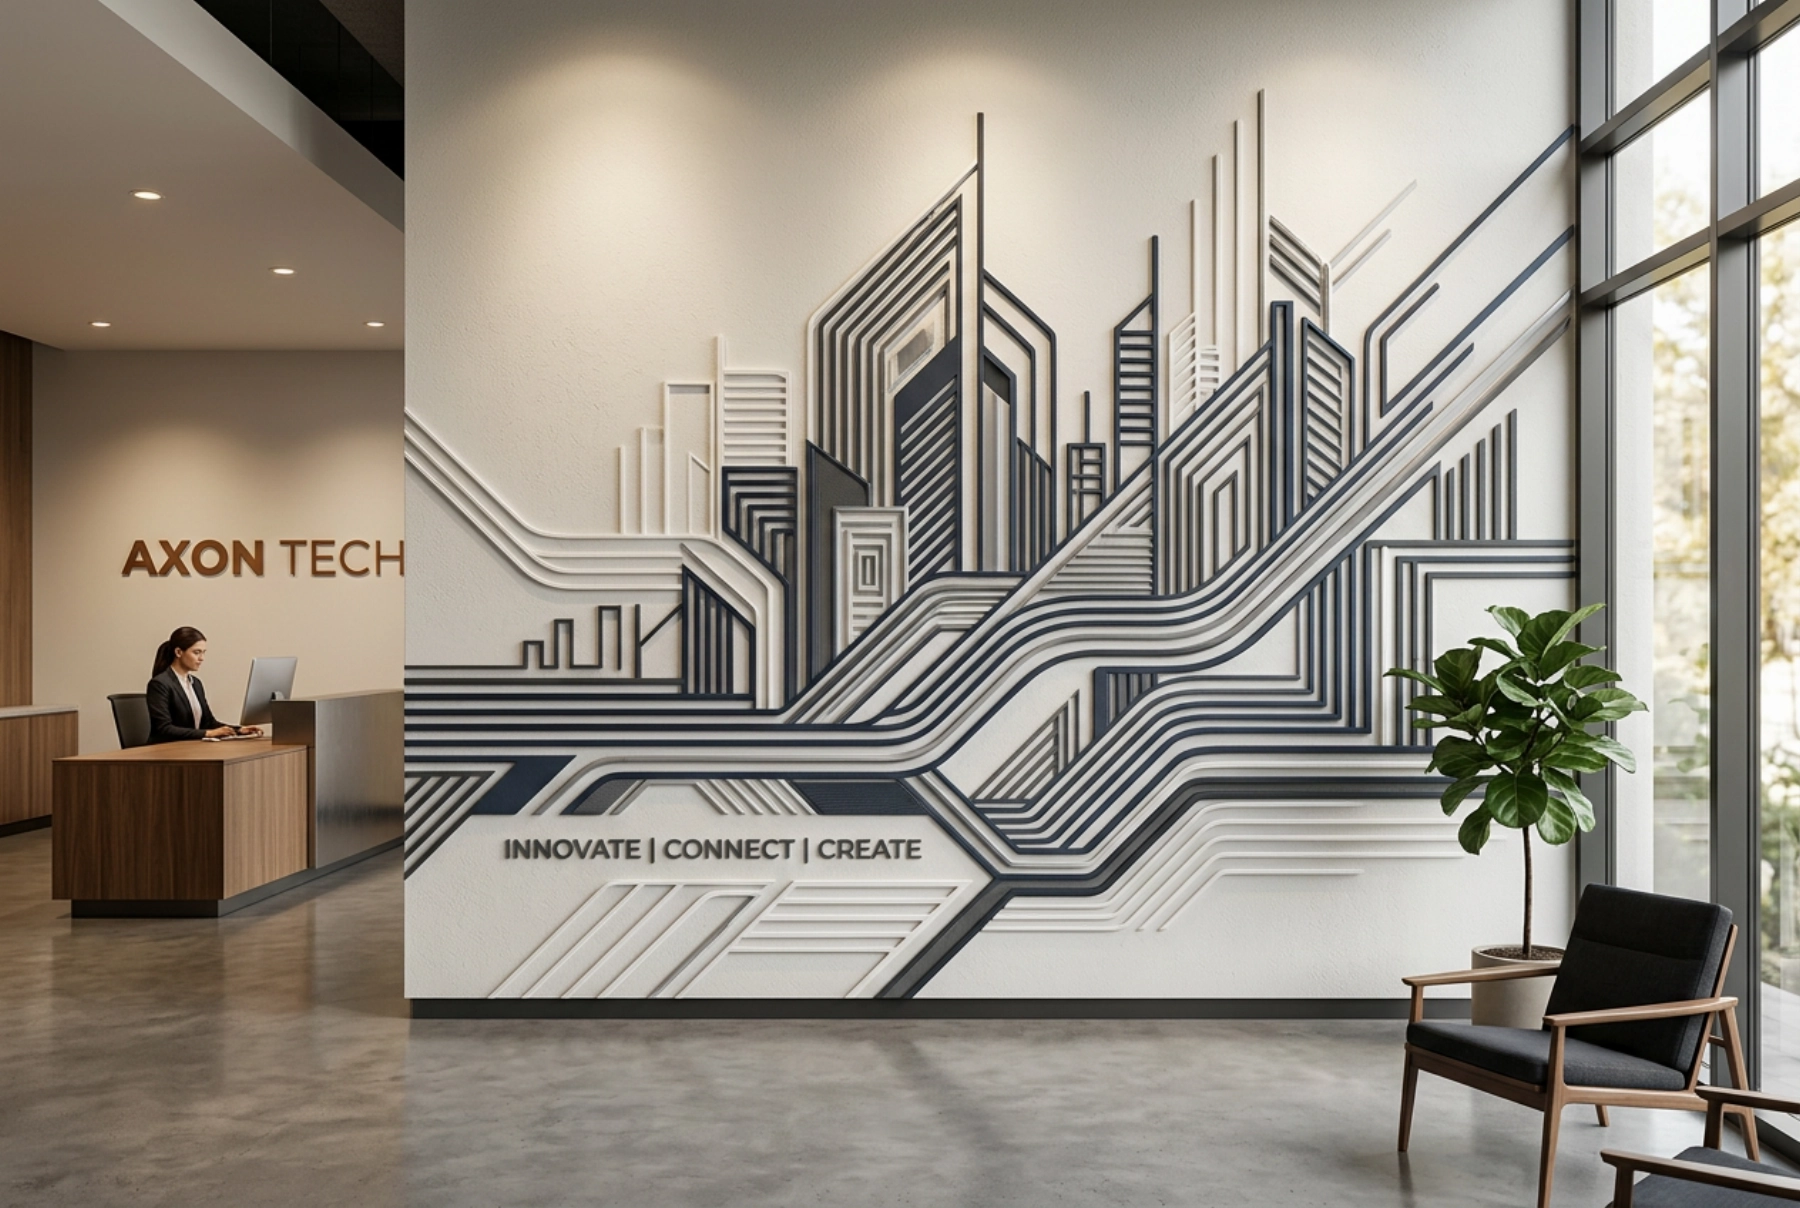
Feature walls and décor where the selling point is texture and depth, not just a flat image — raised-relief murals, embossed patterns, textured accent walls for hospitality lobbies and retail interiors, kids'-room scenes with tactile layers, and art reproductions where the physical relief of the original matters. As a 3D wall printer machine, this is the config that lets a studio charge a premium the flat-print competition can't match, because the customer can run a hand over the result and feel the dimension.
The 3D config builds height by laying down multiple stacked passes — a raised base layer is printed and cured, then color is printed over the built-up relief and locked with factory-tuned color profiles. Because relief is created pass-over-pass on the same rig, the dimensional build is a function of how the job is programmed, not a separate machine.
- Tactile, dimensional relief — raised texture that reads as premium, hand-finished work
- Layered depth with color sitting on built-up base, for a "sculpted" rather than "printed" look
- Best suited to interior, décor-grade surfaces where feel and visual richness drive the sale
Studios / décor use cases → Applications. Want the entry single model? See the entry Vertical Wall Printer →
UV Wall Printer Configuration
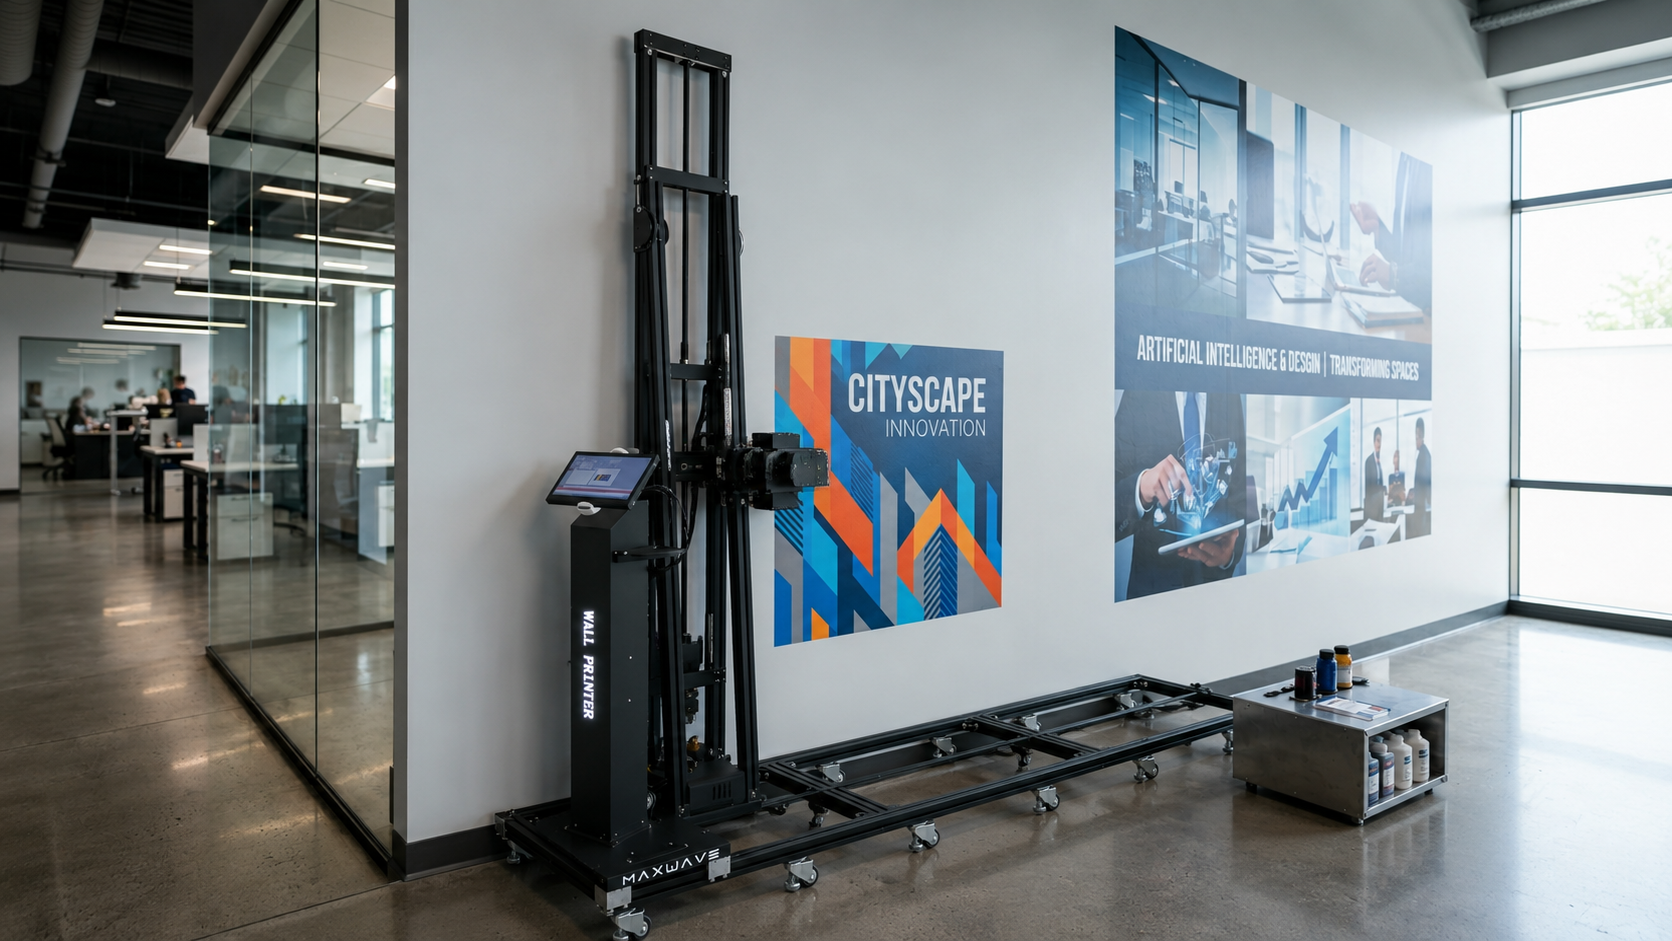
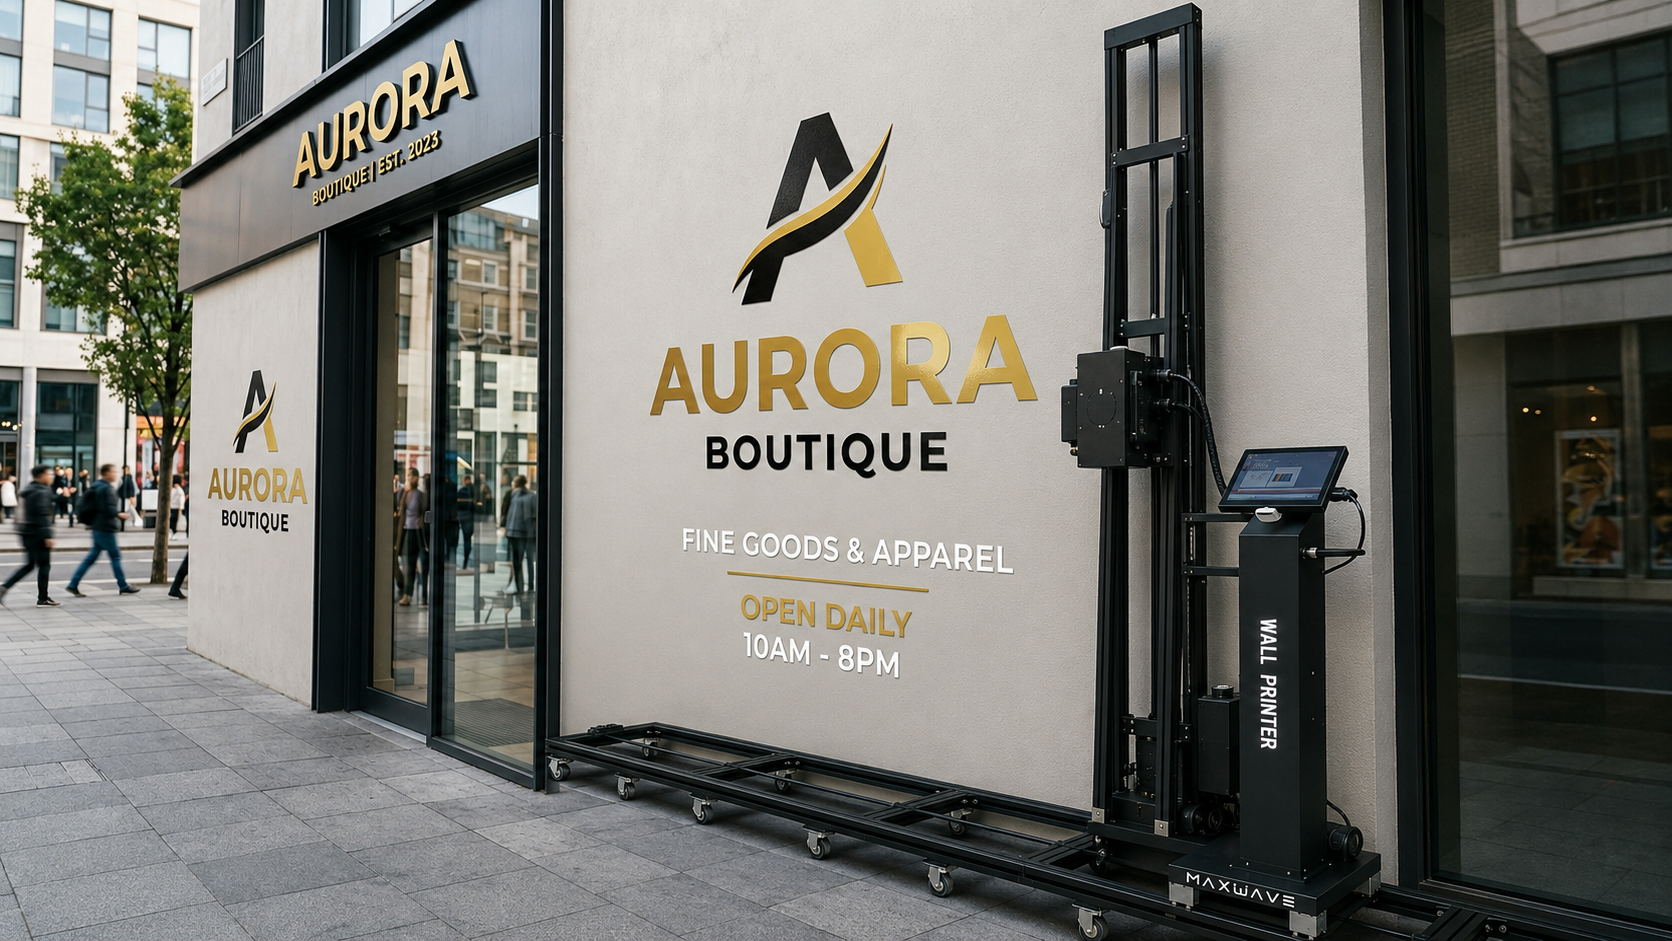
Load the same rig with UV ink and UV LED curing, and the machine becomes a UV wall printer, pushed toward durable, quick-turn commercial work.
High-throughput, commercial and outdoor-facing work where the job has to be durable and fast, not necessarily textured — storefront and window graphics, exterior-facing murals and signage, ad-agency and print-shop jobs that turn around on a deadline, and any surface that will take sun, weather or wear. This is the config an ad shop or sign business runs when they want a UV wall printer for the wall output they already sell on speed and durability.
The UV config prints UV-curable ink and cures each pass instantly under UV LED light as it's laid down — the ink locks on contact rather than air-drying. That instant, low-heat LED cure is what gives this config its two commercial advantages: the print is weather- and scratch-resistant straight off the machine, and it prints and dries in a single quick pass so there's no drying wait between jobs.
- Durable, UV- and weather-resistant finish suited to outdoor and high-wear surfaces
- Instant cure → quick-turn throughput, minimal drying downtime between jobs
- Broad substrate tolerance for commercial signage, storefront and exterior work
- Finish per factory-tuned profile (gloss/matte handled at the profile level, not a hardware change)
UV inks & consumables → Inks & Liquids. Commercial / advertising use → Applications.
3D or UV Wall Printer? Match the config to your jobs.
Because both configs are the same machine, this isn't a question of which machine to buy — it's which ink-and-curing loadout to load first. A simple way to decide:
Quote 3D Relief →
Quote UV LED →
Quote the platform →
Not sure which numbers matter for your jobs? See the full 3D-vs-UV spec comparison → Compare specs.
Same 3-axis platform, both configs — every unit production-tested before it ships.
Request a Factory-Direct QuoteWall Printer Machine Specs — 3D Relief vs UV LED, Compared
Same 3-axis vertical platform. What the table below compares is the ink-and-pass loadout — which is what actually changes your throughput, finish and best-fit surfaces.
| Spec | 3D Reliefconfig | UV LEDconfig |
|---|---|---|
| Platform | ||
| Platform / motion | 3-axis vertical, rail-guided carriage | 3-axis vertical, rail-guided carriage |
| Print heads | Tier-1 piezo | Tier-1 piezo |
| Ink & curing | ||
| Ink system | UV-gel, layered relief ink | UV-curable, 7-color CMYK W + Lc + Lm |
| Curing | UV LED cure, per build pass | UV LED cure, on contact |
| Output | ||
| XY resolution | 720 DPI | 720–2880 DPI |
| Relief / Z axis | 0.5–3 mm relief · 0.25 mm per pass · 3–8 passes per mm depth | Flat (no relief build) |
| Print speed* | 2–4 ㎡/h* | 8–12 ㎡/h standard* · 4–6 ㎡/h high-detail* |
| Practical | ||
| Print reach | Floor to 2.5 m standard (custom rail up to 3.5 m) · up to 15 m/session with repositioning | Floor to 2.5 m standard (custom rail up to 3.5 m) · up to 15 m/session with repositioning |
| Best-fit surfaces | Smooth render / plaster interior (no pre-existing texture) | Broad substrate, incl. exterior & high-wear |
| Machine weight | ~85 kg | ~70 kg |
| Parts warranty | 12-month | 24-month |
| Quote 3D Relief → | Quote UV LED → | |
*Throughput is a typical range for this platform's loadout and varies with artwork complexity, resolution and surface — it is not a fixed guarantee. Figures are per this machine platform only; do not read across to other models.
Reading the table: the 3D config trades speed for depth (fewer ㎡/h, but relief you can feel); the UV config trades depth for speed and durability (flat, but fast and exterior-rated). Both cure under UV LED on the same rig — which is why one platform can do both.
The 3-Axis Vertical Platform, Explained
The carriage rides a rail-guided 3-axis frame straight up the wall — X across, Y up to 2.5 m of height as standard (custom rails up to 3.5 m), Z for standoff and (in the 3D config) relief build. No scaffolding, no gantry, no day-rate crew: one operator sets the rig against the wall and the carriage does the reach. The same motion system drives both configs, which is why an operator learns it once.
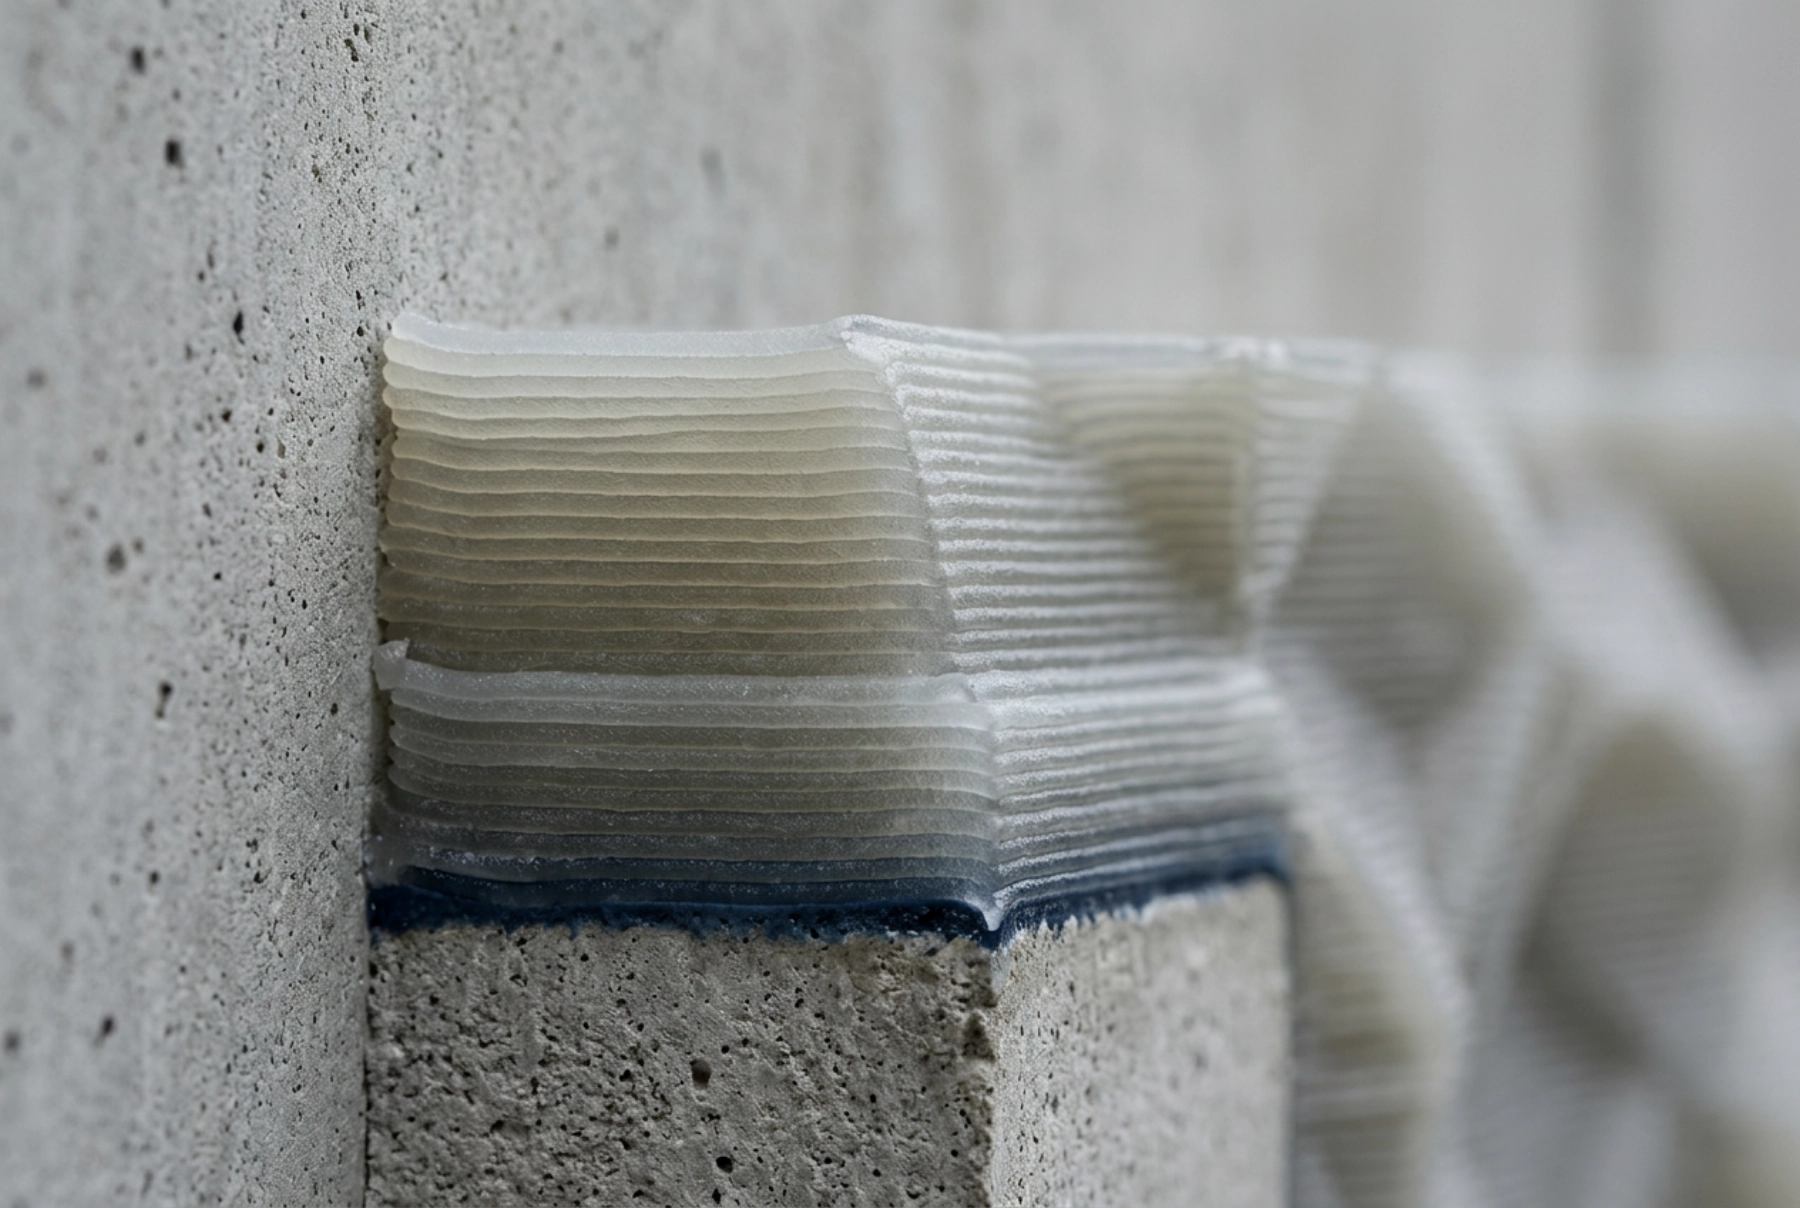
Depth isn't sculpted by hand — it's printed. The 3D config lays UV-gel ink in stacked passes, curing each pass under UV LED before the next, building 0.25 mm per pass — 3–8 passes per mm of depth — up to 0.5–3 mm of finished relief. That's how a flat file becomes a raised, tactile surface with crisp edge definition, on the same platform that prints flat in UV mode.
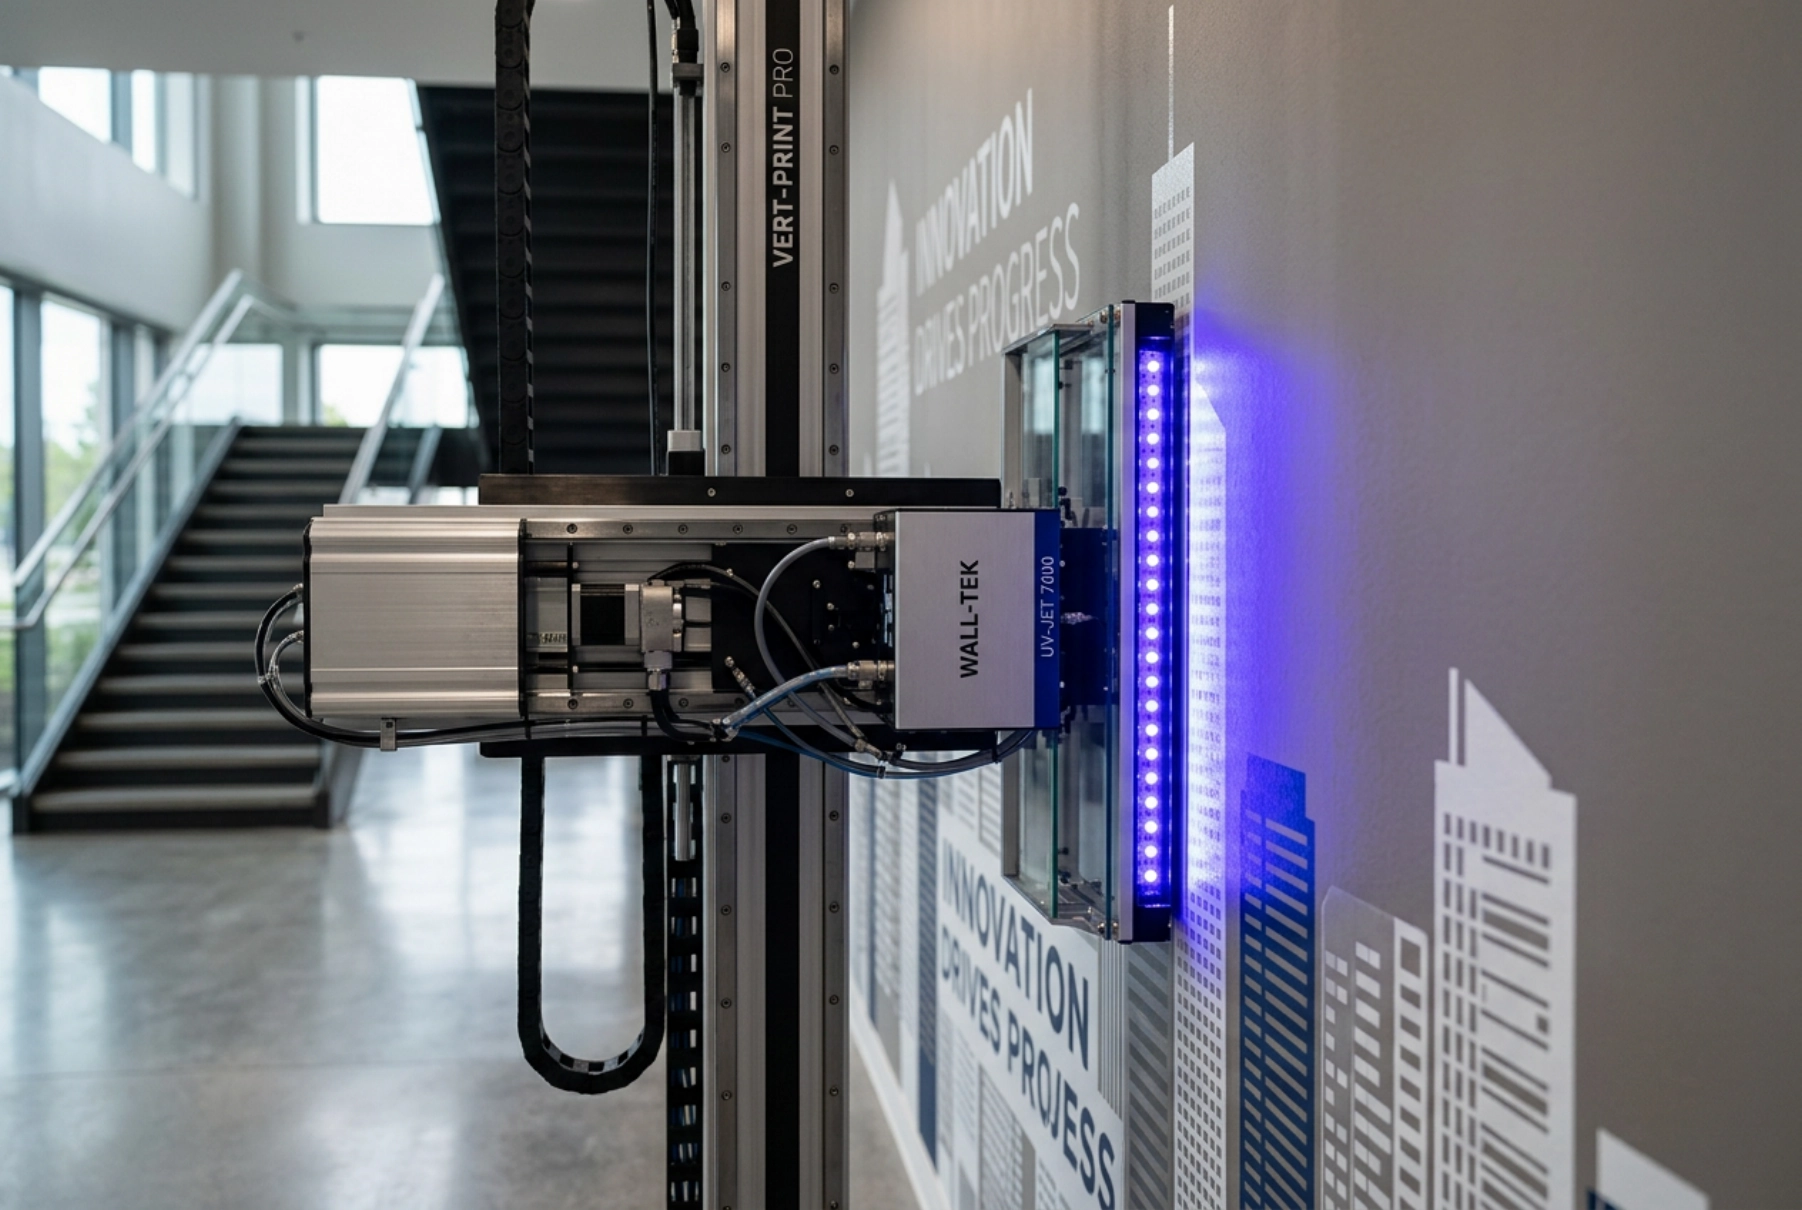
Every pass cures instantly under UV LED as it's laid, rather than air-drying. That single mechanism does two jobs: it locks the 3D config's stacked layers so relief holds its edge, and it gives the UV config an exterior- and wear-resistant finish straight off the machine with no drying wait between jobs. Low-heat LED curing is what lets one rig serve both a slow, tactile décor job and a fast, durable commercial one.
Every Unit Ships Production-Ready — Here's How You Commission It
This isn't a parts kit you assemble. Every unit is production-tested before it leaves the line and ships as a working machine. What that means for the buyer, in order:
It arrives complete
Every crate ships with the machine, a full ink set, a spare printhead, the software licence and a printed quick-start guide — so you're not chasing a missing consumable on day one.
You commission it, not build it
Because it left the line calibrated and tested, commissioning is a setup-and-verify job, not an assembly job — rig placement, first calibration, a test print, and you're printing.
You get running with support, not a manual
A spare printhead is already in the crate, and online training-portal access ships with the unit, so operator ramp-up and first-fault recovery don't wait on a shipment or a language barrier.
It stays running
Core parts are held in stock ≥ 5 years, and every unit carries a 12-month parts warranty — the machine is built to keep earning, not to strand you after the first fault.
Where this differs from the spec table above: it tells you what the machine does; this tells you that a first-time operator can get it from a crate to a paying job without a factory engineer on site.
Download the 3D and UV Spec Sheets
One sheet per config — every dimension in the table above plus mechanical drawings and ink data — downloading directly. No inquiry gate, no email wall. Get the numbers, compare them against anything else you're evaluating, then talk to us when you're ready.
Want to see the machine that prints these specs? Meet the factory behind it. ↓
Every unit clears a 24-hour burn-in and a spec-sheet performance test — the shakedown happens on our floor, not your job.
How Every Unit Is Verified, Certified and Covered
Anyone can print a spec sheet. What matters is whether your unit — the one that ships to you — actually hits those numbers. On this platform, the figures in the comparison table are the line every unit has to clear before it's allowed in the crate. Here's how that's enforced, certified and protected.
Quality Control: Every Unit Tested Against Its Spec Sheet
Every machine runs a 5-checkpoint QC flow under an ISO 9001 quality manual before it leaves the line. Two of those checkpoints are what make the spec table trustworthy.
Incoming-material check
Printhead, mainboard and motors verified against a batch ID before assembly.
In-line assembly sign-off
No part advances without a stamp.
Performance test against the spec sheet
Before crating, each unit's calibration, speed, DPI and color accuracy are measured against it — the same numbers you compared in the table. A unit that misses doesn't ship; it goes back.
24-hour burn-in
Every single unit runs continuous print patterns for 24 hours in a dedicated burn-in room. Early-life failures surface here, in our building — not in yours, mid-job.
Pre-crate audit
Kit completeness and packing checklist signed off before sealing.
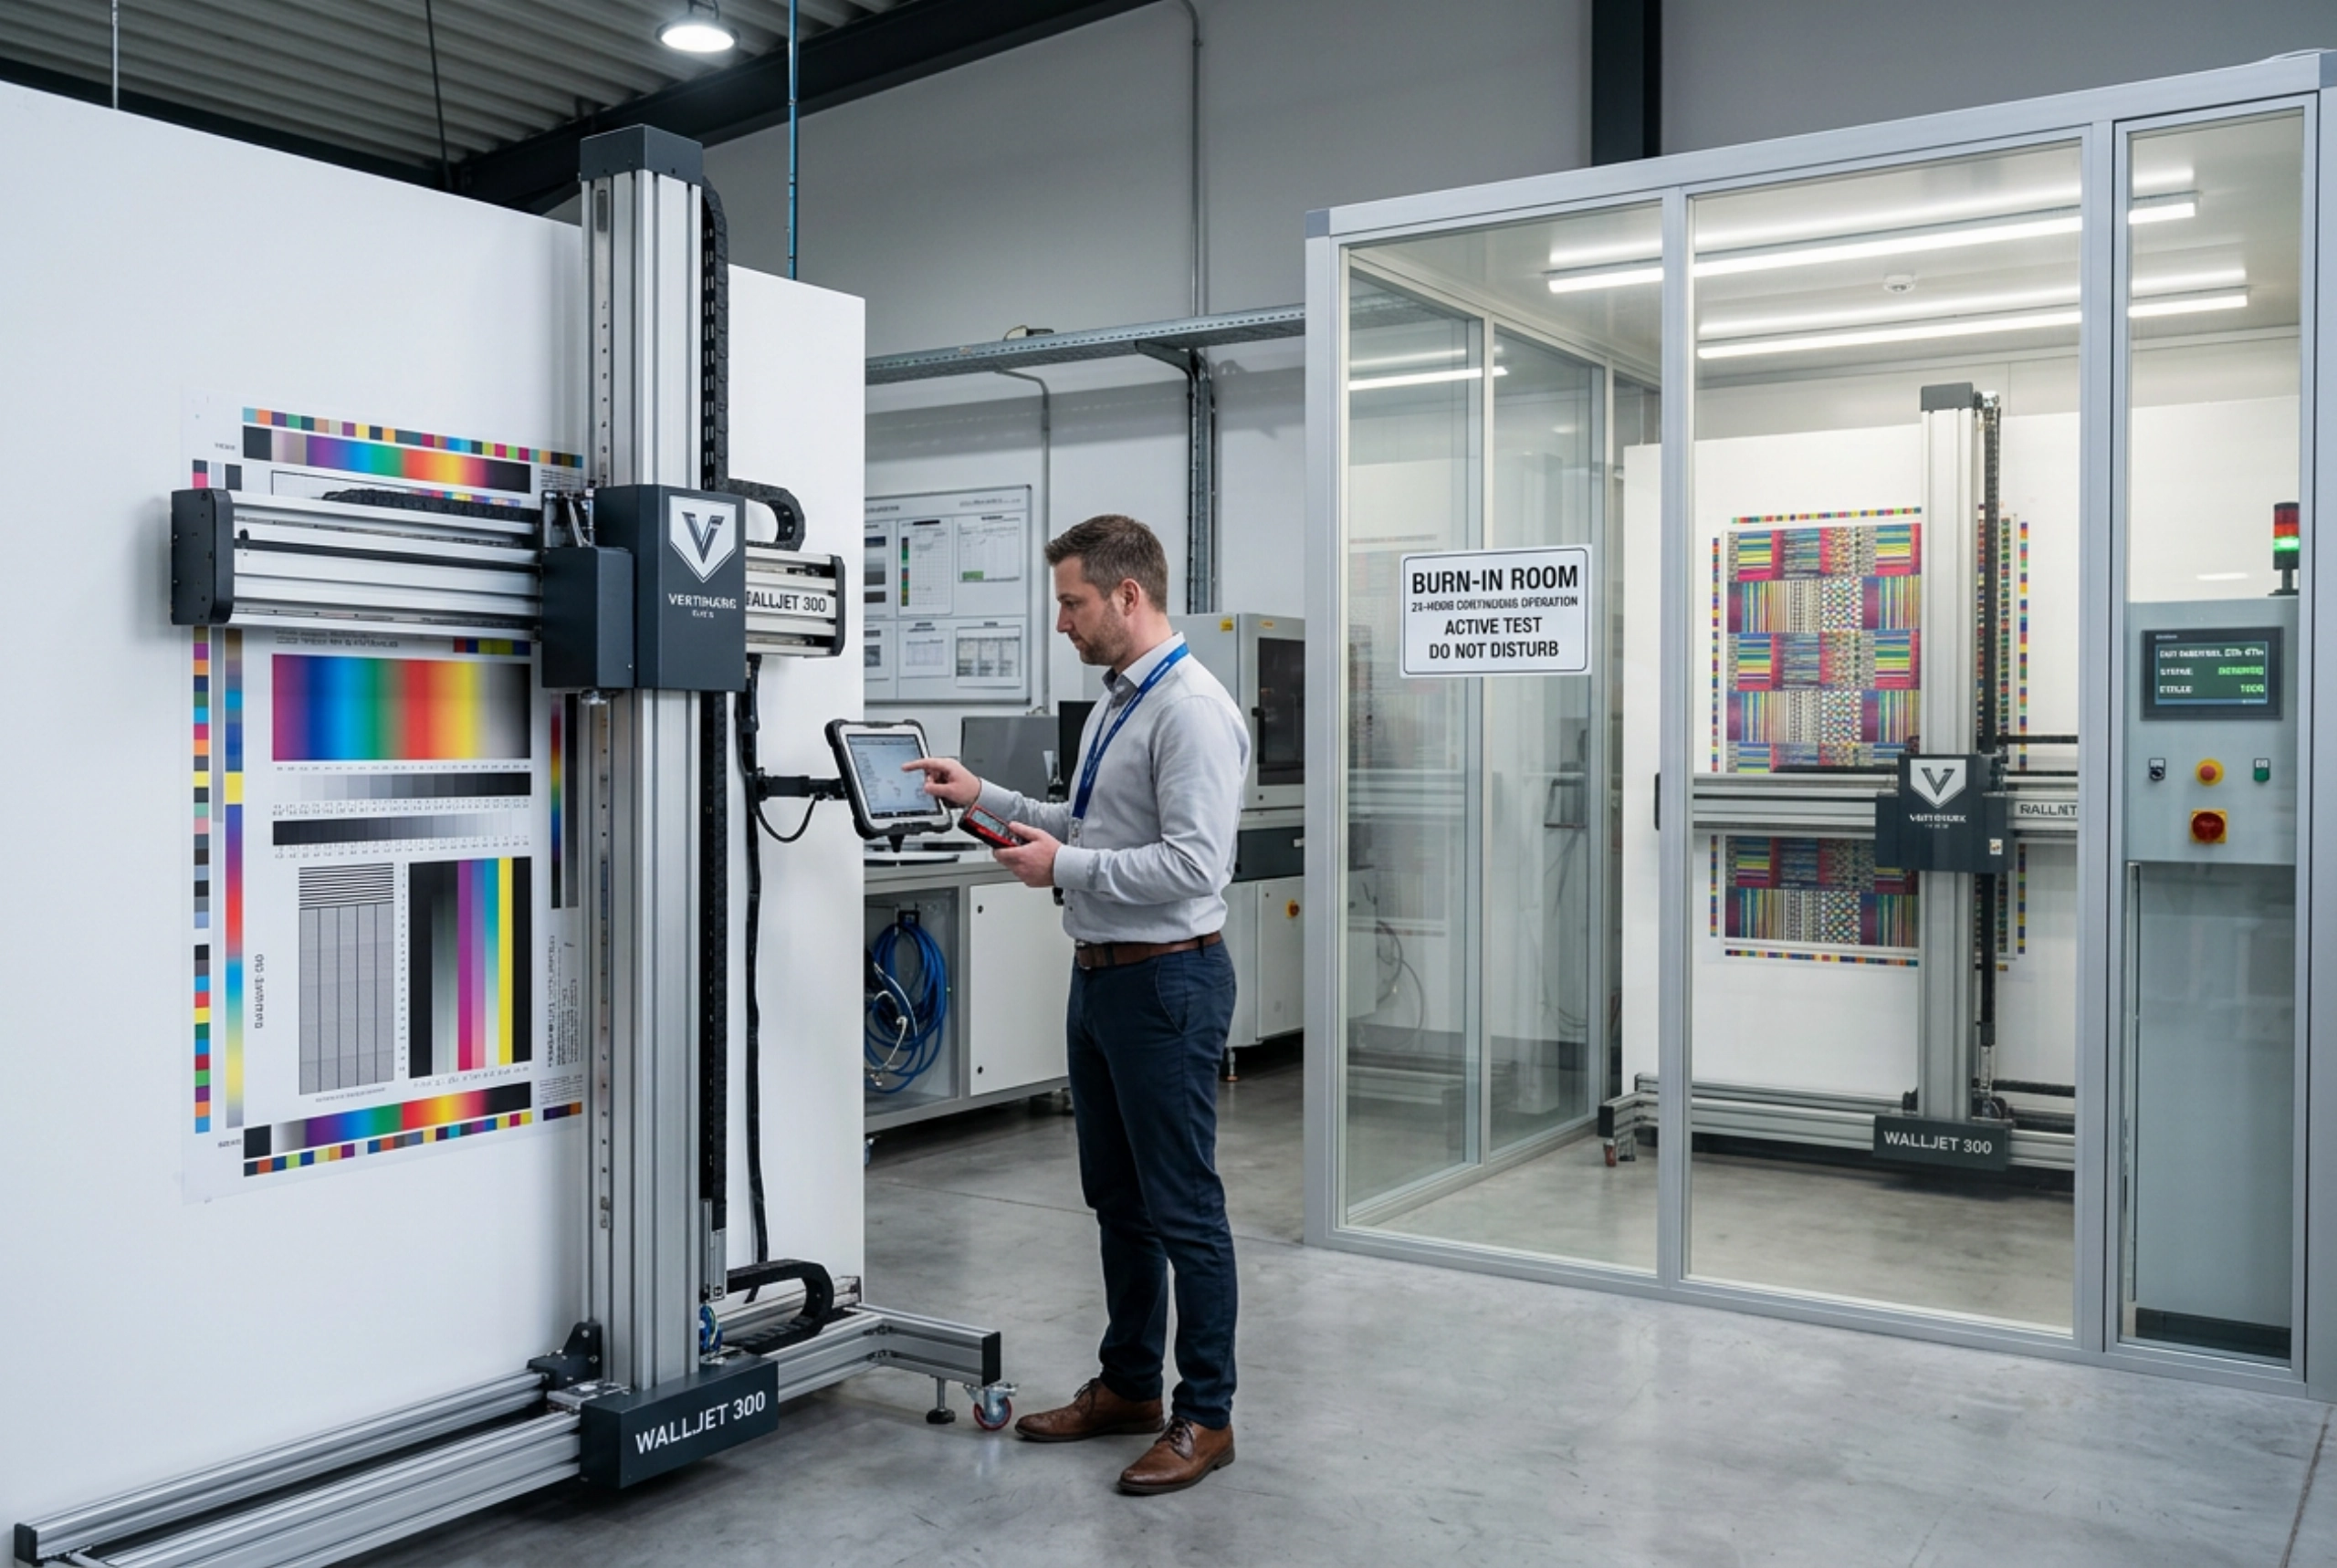
Performance-test bench and the 24-hour burn-in room — every unit is measured against its spec sheet before it's crated.
The other three checkpoints bracket those two: incoming-material check (printhead, mainboard and motors verified against a batch ID before assembly), in-line assembly sign-off (no part advances without a stamp), and a pre-crate audit (kit completeness and packing checklist signed off before sealing). Last year, the outbound defect rate — units that arrived needing any remediation — sat under 2%.
That's the flagship point: the specs in the table aren't a marketing ceiling, they're a pass/fail gate with a paper trail behind every serial number.
CE · FCC · RoHS · ISO 9001
Four certifications, framed by what they clear this machine to do — not company wallpaper:
CE
Electromagnetic compatibility & low-voltage directive for the printer assembly — EU market.
FCC
Radio-frequency emission compliance for the printer electronics — US & Canada.
RoHS
Restriction of hazardous substances in electronics & consumables — EU + partner markets.
ISO 9001
Quality-management system covering design, assembly, QC and after-sales — used by partners in their own audits.
All four are third-party validated (TÜV-equivalent). Certificate copies are released during the OEM/quote step under NDA rather than published on the page — standard partner-desk practice, and the reason you won't see certificate numbers printed here.
3D and UV Wall Printer Configs in the Field
Real customer deployments, focused on which config runs which kind of work — not ROI stories. Region + industry, customer names under NDA, no hard performance figures.
Sign & graphics shop — MENA. Runs the UV LED config for storefront and exterior-facing signage, where the fast, weather-rated finish fits deadline commercial work. (Name under NDA.)
Interior décor contractor — SEA. Runs the 3D Relief config for hospitality feature walls, selling the tactile depth flat print can't match. (Name under NDA.)
Wide-format print shop — LATAM. Added the UV LED config alongside an existing flatbed line, using the shared UV workflow to take on wall work without a second ink chemistry to learn. (Name under NDA.)
Warranty, Transit Cover and Parts Availability
Product-buyer protections, stated in specifics — no open-ended promises we can't honor:
You're not the tester
Every unit clears the 24-hour burn-in and the spec-sheet performance test before it ships — the shakedown happens on our floor, not your job.
12-month parts warranty
A defined 12-month parts warranty — a real window we stand behind, not a "lifetime" claim no factory can honor.
7-day transit damage cover
Transit damage reported within 7 days of delivery is covered — the risk of the freight leg isn't yours to absorb.
Parts stay available ≥ 5 years
Core parts are stocked for at least 5 years and a spare printhead ships in the crate — the machine keeps earning instead of getting orphaned after one fault.
Seen enough? Get a factory-direct quote on the config that fits your work. ↓
Request a Factory-Direct Quote
Tell us the config you're leaning toward and your target job type, and you get a configured factory-direct quote back — BOM, MOQ tier, lead-time window and payment terms — from the engineer who oversees the build.